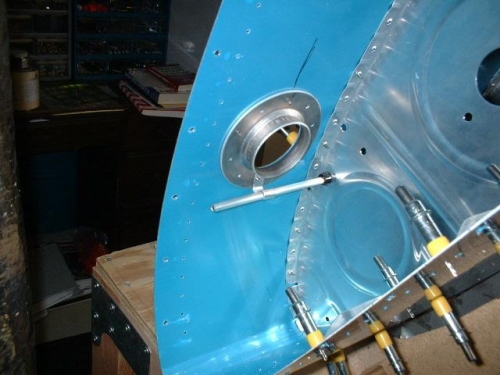
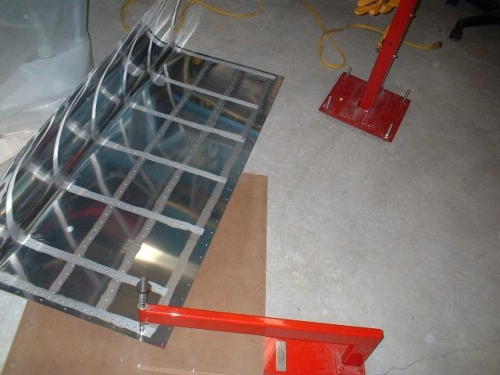
While I had the fuel tank clecoed back together, I thought I better think ahead and figure out the order of prosealing/riveting everything together. I definitely need to keep the 2 end ribs off until the fuel vent tube and capacitance plates are installed. Otherwise it will be impossible to install these components. After cutting the vent tube to length, I fabricated the small attach bracket that gets riveted to and suspended from the fuel cap flange. This will ensure that the end of the vent will be supported at the tanks highest point. Once I had a game plan for final assembly, I took everything apart and deburred the skin. Then I used a flap-sanding wheel in the electric drill to rough-up the skin for the proseal to adhere to. This went pretty quick. Then it was on to dimpling the skin. I dug out my C-Frame and small table and started hammering away.