Brief Description: Drilled top of new extrusion angle
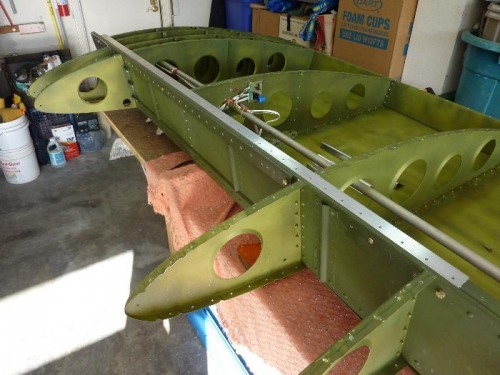
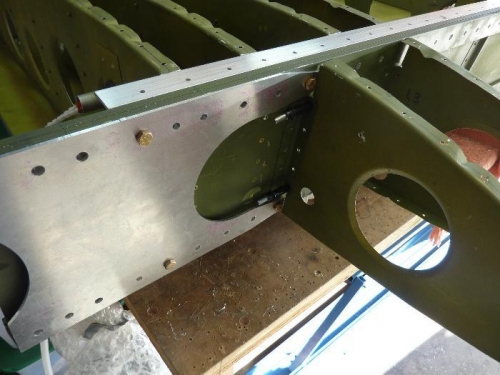
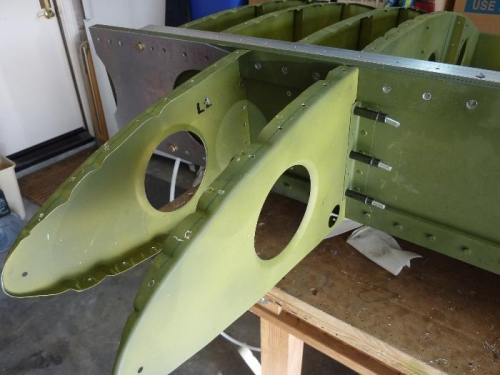
The next step before me was to replace the 1st and 2nd nose ribs which require modification because of the addition of the wing root doubler. You are required to trim the old mounting holes from the back edge of the ribs and attach them to new, beefier nose rib angles by back drilling. To get them properly placed you must replace the nose skin to position the ribs where the bottom edge meets the nose skin, but you must have some way of insuring that the top of the nose rib is not tipped too far in or is "drooping" down when you attach it to the angles. The photo assembly guide makes a very good suggestion of using strips of aluminum that are drilled to match the hole pattern on the top of the nose skin. The only flaw in that plan is that without an anchoring hole in the new extrusion angle, you're still flopping around in space. My solution was to replace the top skin on the wing, then step drill through the holes where it overlaps the extrusion angle, giving me my final reference point. Now that my work space-constricted work in the area of nose rib 3 is over, I can re-rivet it at any time. I just re-clecoed nose rib 2 to see if any depth will need to be trimmed off the back, and it appears that it will not. I'll simply install the new heavy-duty rib angles on it. Rib 1 is the challenge that will require the most care, because it must be placed on the new, higher surface of the wing root doubler.