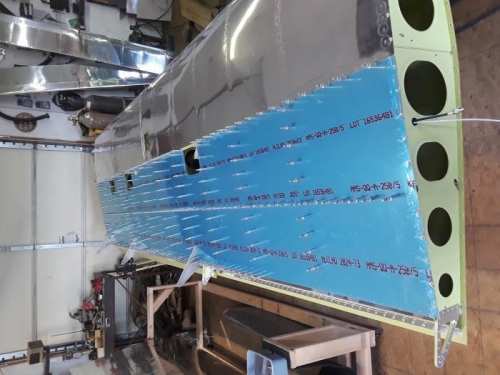
After testing and reinstalling the tank on the left wing it is time to rivet the bottom skin.
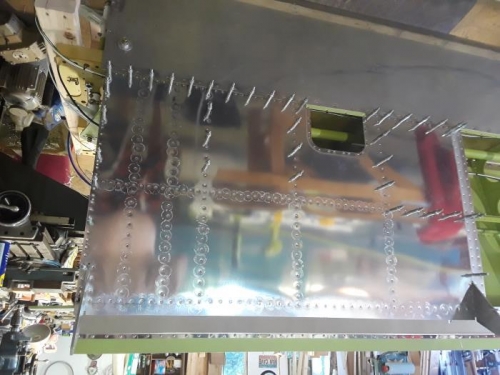
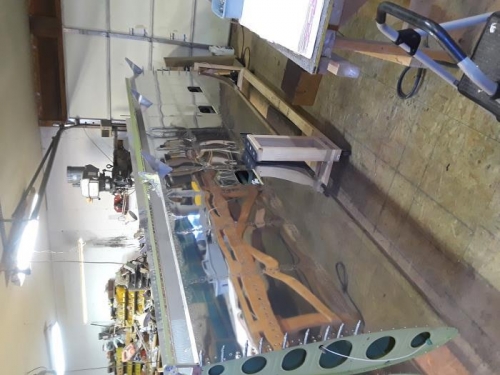
I was dreading this step because I just couldn't imagine how I would be able to reach all of the rivets. I riveted the skin on with the wings upright in the cradle. I clecoed the rear spar as indicated in the plans and pulled the skin up and fastened in place with several pieces of duct tape. After riveting the rear spar I stared working my way down the ribs two rivets at a time on each rib. I slowly loosened the duct tape straps as I went. At the J channel stiffener, I pulled off the tape and riveted by reaching up under the skin. Once past the J channel I had to rivet by reaching in the access holes and through the rib lightening holes.
All in all, not such a big deal although it is really easy to slip off with the bucking bar when the positioning is strictly by feel. I placed a rivet in the hole, then 'felt' for it with the bucking bar while holding the rivet in place. I learned that once found, the bucking bar could be centered by sliding to each side and feeling when if left the rivet