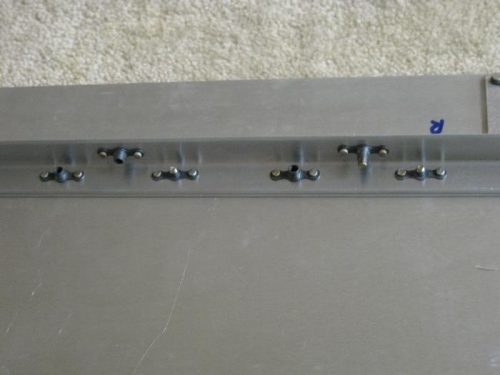
Brief Description: Riveted the nutplates to the frame angle stiffener
After deburring and scuffing the angle for priming later, I riveted the nutplates to the frame angle stiffener. I again had to concentrate to not rivet the wrong nutplate to the wrong size hole. You have to really look closely to see the difference in the size of a #6 and #8 hole. Somehow I managed to rivet the nutplates correctly.
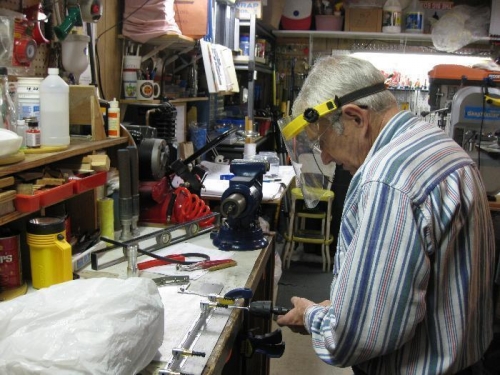
Next I had to match drill the subpanel angle stiffener to the frame angle stiffener. The panel plates have to be installed onto the frame and turned upside down on a flat surface the get the correct flush dimension with the subpanel. Jigging and clamping the angles together allowed the match drilling to be accomplished. The #8 screws hold the subpanel to the frame stiffener angle so the nutplates have to be riveted to the top face of the frame angle because the screws are inserted from the bottom through the subpanel angle. I did not rush this job either even though I could see light at the end of the tunnel!
Nutplates riveted to frame angle stiffener. Note the different size nutplates.
Match drilling the frame and subpanel stiffener angles clamped back to back.