Brief Description: Updating drawings and riveting tie mounts.
I spent August 1 & 2 working on my computer to keep it from roasting. The chipset fan started making noises and the temperature started climbing. I turned it off and removed the fan and cleaned it out with canned air. While removing the fan I broke two holddown pins with springs that went flying. It took me hours to find those springs. I went to Fry's Electronics on Monday to purchase a new fan but it was a proprietary Asus fan they didn't have. The guy helping me tested my old fan with a 12v battery and said he thought it still had some life left. I bought some nylon screws to replace the pins that I broke and came home with some new thermal compound and put it back together. It surprised me when I started it again that it worked with no noise. Now back to the wiring.
The most difficult thing with the wiring so far is deciding the paths and support points. I added some tie wrap base mounts to the three forward ribs today. I pop-riveted them on the bottom flange of the ribs. I think wires will come through the tunnel area then up the angles on each side of the FW recess encased in either spiral wrap or the split plastic conduit which I need to purchase. The Main Hot Battery Bus fuse block that you see in the third picture is installed on the inboard side of the right forward rib and is connected to the Main battery through the right FW pass-thru with an 8AWG wire that is fused with a 30A Midi-fuse. Wires will run along the bottoms of the forward ribs and be held with tie wraps through the riveted mounting bases that you see in the pictures.
I finished the day by updating all my drawings which had quite a few changes. I need to stay on top of the diagrams so that I have a correct schematic to look at. I can't memorize or remember where all these wires go.
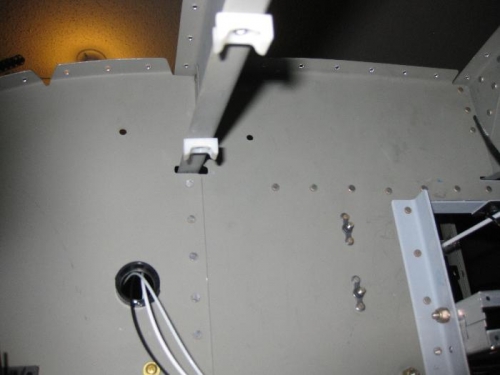
Two of the three tie mount riveted to the left forward rib to run wires.
The center rib has some wires loosely zip tied below the mounts. More will be added.
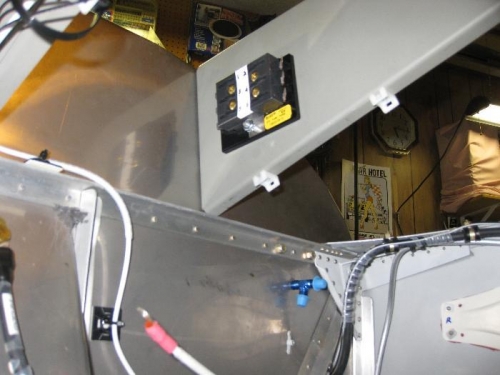
The right rib has mounts riveted and you can see the Main Hot Battery Bus installed.