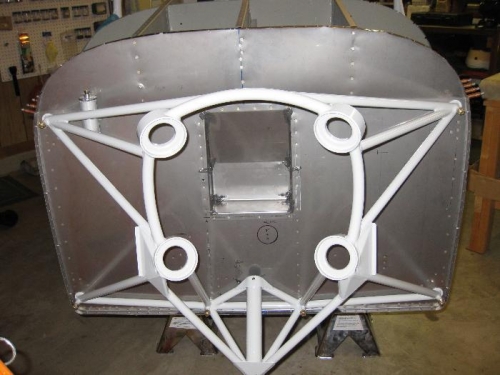
Brief Description: Install engine mount & temporarily hang engine.
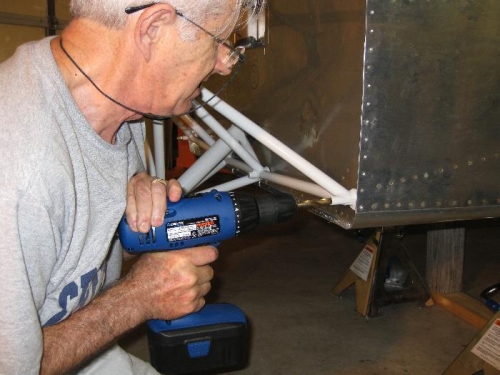
Today we installed the engine mount by match drilling out the holes into the firewall. The four corners already had a hole but they had to be enlarged. I bolted the mount using the smaller bolts and then removed them one at a time and drilled using the mount as a guide. The final size holes were 3/8" and used an AN6-24 bolts. The two holes at the bottom next to the nose gear mount were more difficult to drill since these holes were not predrilled. Drilling through stainless steel causes it to harden unless you lube it and stop to let it cool frequently. I drilled a 1/8" pilot hole followed by a 1/4" bit and finally the 3/8" bit. It took some time to get those two holes drilled. The most difficult task was to debur the four corner steel weldments. It was tedious to get a file to remove the sharp steel burrs.
We pulled out our IO-360 that was still bolted to the wooden crate bottom. I had stored it under a table in the garage. We levered the crate up onto the hoist legs using some wooden blocks and a Johnson bar. Once on the legs, I unbolted the engine from the box and lifted it with the hydraulic hoist. I set it on a wood stool for the night. Tommorrow my brother Clark will come and help me try to mount the Lord vibration isolators to the engine and the mount. Enough for today!