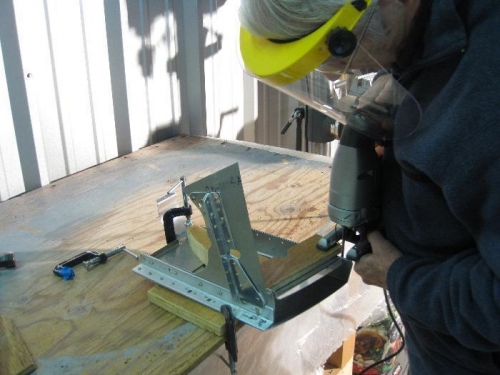
We made the first cut on the baffles which I had removed to use the bandsaw. I could cut them all on the bandsaw except the modified #4 aft baffle which has its side baffle riveted to it. I used the saber saw and hand hacksaw on #4. What a pain you know where! I had to figure out a way to clamp it to the work bench without damaging it to use the saber saw. I then had to use the vise to finish the cutting with the hack saw.
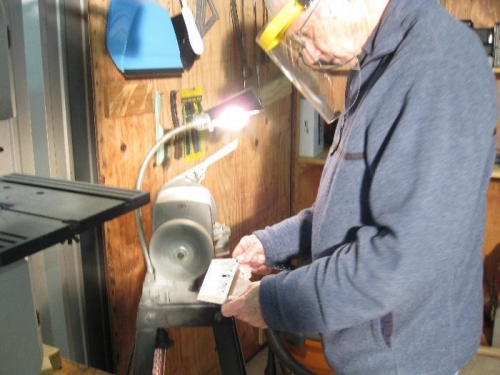
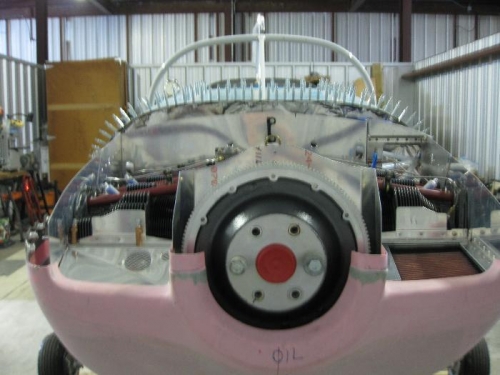
I reattached the baffles after deburring with the Scotch wheel on the grinder. It all looked pretty good until I put on the top cowling. There was clearance but not enough. I decided another 1/2" was needed except for #4 which I believed could come down another 1/4" OK. Even if I cut down too much for rubber sealing, I could use longer flanges on the plenum to raise it up a little. I needed enough baffle left to attach the plenum flanges using screws on the baffles and nutplates on the plenum flanges. Onward with optimism!
Cursing and cutting the #4 baffle with a saber saw.