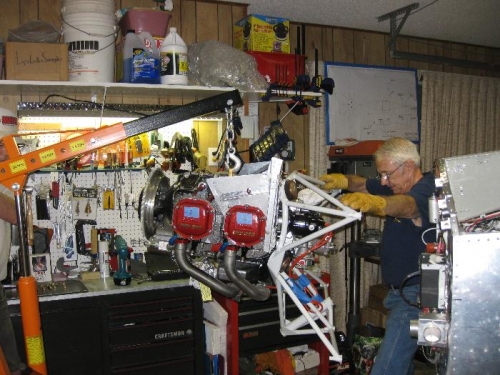
My brother Clark came over this morning to help Charlotte and I hang the engine on the FW. We had prearranged the fuselage diagonally across the garage hoping that the hoist would fit in the corner. It worked great, we had plenty of room to manuever the engine to the FW. We really had no problems because Charlotte and I had already cut out the stainless steel foil and insulation from around the FW bolt holes. We had to push and shove a little to get the bolts in as we wiggled the engine. We used 3 washers on each corner bolt and 2 washers on the two lower middle bolts.
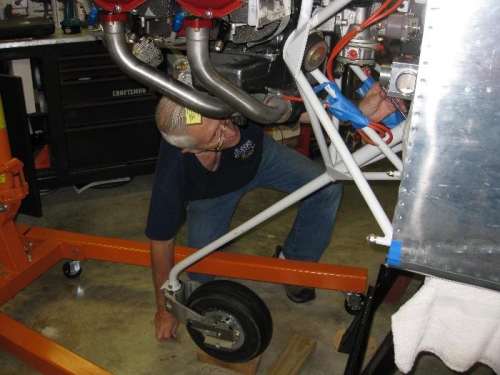
The nose wheel gear leg slipped into the mount socket with the help of a little grease. The difficult part was installing the bolt. The bolt hole in the FW was a little off, so we put it in from the top of the socket outside and installed the washer and nut through the FW hole from the inside. The wrench to hold the nut just fit into the hole. This way one can remove the bolt if necessary from the outside without climbing into the airplane. Plus, gravity will hold the bolt in place if the nut ever comes off. I never liked the idea of putting it in from the bottom and installing the nut on top. After installing the stainless steel FW button which popped into the hole, we called it a wrap for the day. A good day!!
Tomorrow I start the hard part of figuring out where all the FWF stuff fits.