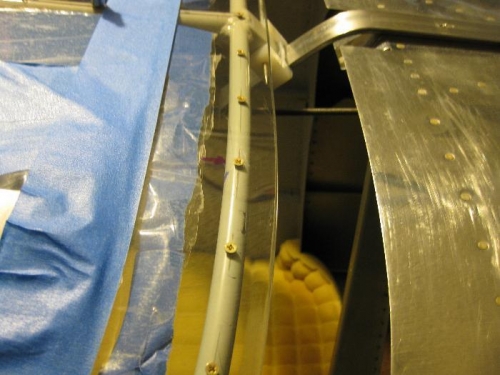
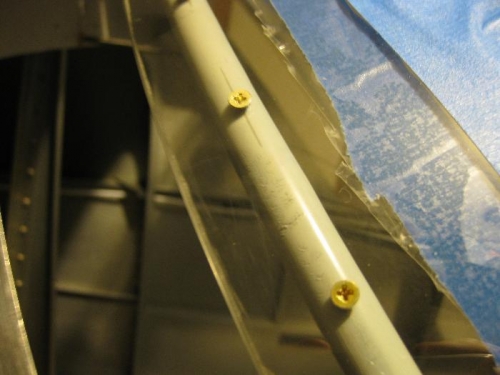
Brief Description: Tapped rear canopy bow to hold plexiglass.
Today I tapped the rear bow #40 holes with a #43 tap to hold 4-40 screws. There was just enough hole to allow the tap to hold the screws. I then countersunk the canopy (plexiglass) holes with my hand deburring tool to allow the #4 screws to be flush to the canopy when screwed into the bow. This is a temporary way to hold the canopy without the use of clecos while I lay up the fiberglass rear skirt.
When the four or five fiberglass plies are layed up and cured, I will remove the skirt and then trim and sand it to a smooth finish. I will remove every other screw from the canopy then put the finished skirt back on and use a hole finder (strap duplicator) to locate the holes in the canopy; then drill the skirt (canopy plexiglass already drilled to 1/8") and bow with a #30 drill for the 1/8" pop rivets. I'll then repeat for the remaining holes. Finally, I will drill out the canopy plexiglass holes to the 5/32" and rivet the skirt and canopy plexiglass to the rear bow. Sounds like a good plan, all I have to do is execute!!!