Brief Description: Checked windshield fit after drilling and sanding.
Having already drilled, countersunk, and sanded the windshield, today I placed the windshield in position and installed the #6 screws to test the fit. I found about 3 or 4 screws that did not quite fit the countersinks correctly. I obviously did not drill or countersink perfectly perpendicular to the windshield and roll bar. I used my hand deburring tool to adjust the countersinks until the screws would touch the plexiglass all around the screw head. I may have to enlarge the holes slightly to keep the screw threads from touching the plexiglass holes and causing stress during contraction and expansion with a change in temperature. The nylon washer shims added from about the 10 and 2 o'clock positions down both sides between the roll bar and the plexiglass seem to work great.
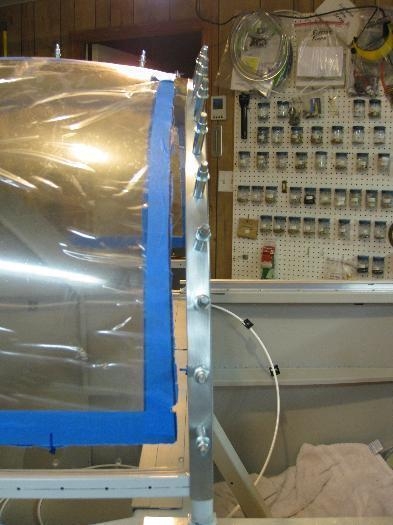
I clecoed on the aluminum strip that we made to sandwich the canopy plexiglass between the strip and the forward canopy bow. I then closed the canopy until the roller brackets touched the roll bar to check the gap between the canopy and windshield. I then sanded the windshield edge in a couple places for a more even gap all the way around. It looks as though the gap will be about 1/16" between the canopy and windshield. That's about as good as I can do. The gap will be covered by the fiberglass strip when added to the windshield.
The fiberglass cloth came from AC Spruce today but the rolling razor blade cloth cutter is back ordered. Not surprised!
Aluminum strip clecoed to the front edge of the canopy.