Brief Description: Drilled and sanded the windshield.
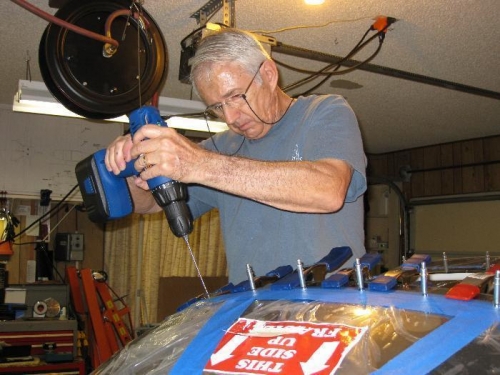
Today I match drilled the windshield to the roll bar. Charlotted directed me to the perpendicular while I drilled from inside the cockpit and couldn't see the side angle. I had ordered a drill guide but it han't come in yet. The drilling went quickly until we had to drill the last four holes on each side where we needed to install shims so that the windshield would match the canopy. We used small #6 nylon washers that had to be stacked (we super glued them together) to get the right dimensions on the sides. Needless to say, that it was difficult to install shims while drilling. We used wooden popsicle sticks to shim while drilling and then later inserted the nylon washers. After finishing the drilling and installing all the clecos, we rolled the canopy up to the windsheild and were pleasantly surprised that they were very close to matching at the join line. We will add one or two more thin washers on the side holes. The last two holes were shimmed out about 5/32" to match the canopy at the sides but the top and 10/2 o'clock positions matched perfectly.
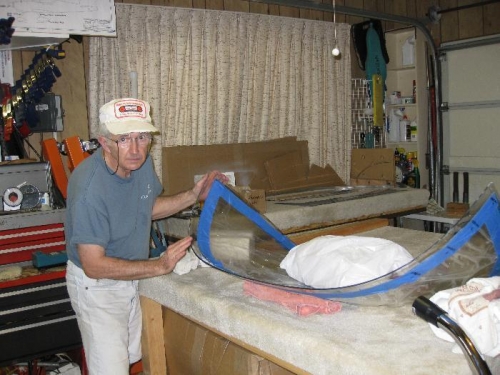
I traced a line with a Sharpie on the inside of the windshield using the roll bar as a guide to later sand the edge to be flush with the roll bar. I used my belt sander, orbital sander, and hand sander to match the canopy forward edge and close as possible (not perfect of course). The windshield and canopy will have about 1/16" gap between the two when the canopy is closed. The fiberglass strip over the windshield's egde will cover this small gap.
Drilling the windshield with #40 drill bit.
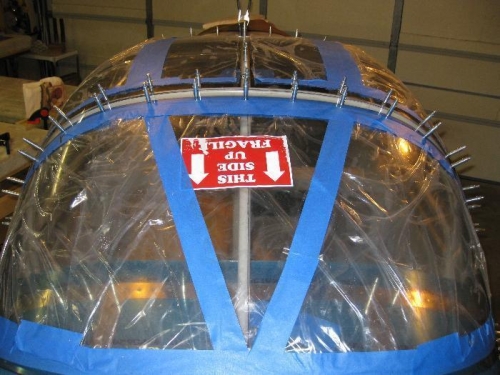
Windshield drilled and clecoed.
Finishing sanding the roll bar edge of the windshield.