Brief Description: Windshield prepped and rear skirt pattern made.
I had the windshield taped to the roll bar for a couple of weeks. I removed it and had to clean duct tape goo off with alcohol. I then put two layers of blue masking tape on the roll bar in preparation for drilling the windshield. At the last moment I realized that I needed to install the roll bar brace to be sure it would be holding the roll bar in the correct position while drilling. I measured the marks for drilling starting at the top center of the roll bar and went down each side marking every four inches per the drawing. The last two holes out 17 holes were only 3 1/4" inches apart, but that should be good since the last hole will hold the bottom of the windshield against the side skin. I then put the windshield on and clamped it with about 10 spring clamps to hold it tight for drilling which I will do tomorrow.
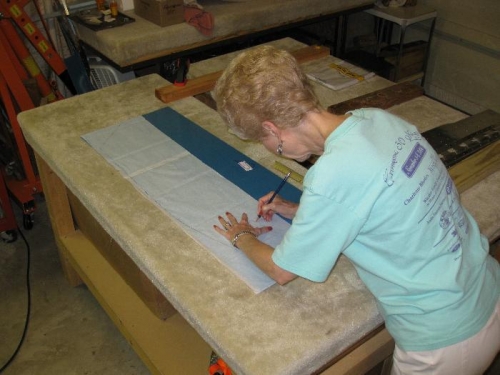
While I was working on the windshield, Charlotte was making a pattern for the canopy aft skirts by tracing the aluminum skirts onto some tracing paper. She then transfered the trace to posterboard and cut out the pattern. We'll use this pattern to cut over-sized fiberglass cloth skirts to be placed between the rear of the canopy and the turtledeck skin. The expoxy and hardener resin will then be applied to one ply at a time until we have about 4 or 5 plies which will overlap at the top center of fuselage over the center canopy slide rail. Oh Boy! This should be fun and messy. By the time we finish the rear skirt it will be one piece that goes from the left to the right side skirts and will be riveted to the rear canopy bow and side skirts. We hope!!!
Charlotte tracing rear skirt to make a posterboard pattern,