Brief Description: Prepped and riveted left flap brace and hinge.
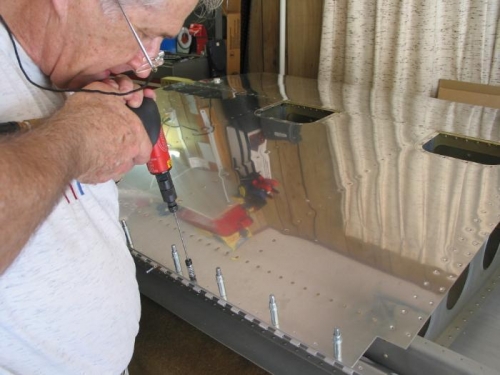
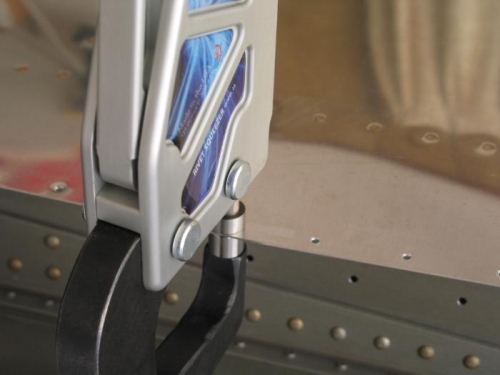
Temporarily installed left aileron and flap to determine alignment of the flap/aileron trailing edge and gap. Marked the end holes on the flap hinge and measured the fore/aft position to be sure that I would have the edge distance on the hinge rivets. (I had already cut and drilled a hinge that did not have the edge distance!). I drilled the two end holes and then clamped the hinge while clecoing the end holes through the wing skin, flap brace, and hinge. I then match drilled the hinge through the skin and flap brace. I prepped by deburring the wing skin holes, countersunk the flap brace and deburring, and deburred the hinge. I dimpled the wing skin using the hand squeezer. I scuffed the brace and hinge and then primed using the self-etching Dupont primer. My brother Clark helped me cleco the flap brace and hinge and then rivet the brace to the spar using my second new pneumatic/hydraulic pop riveter from Harbor Freight. Worked great! We used the Cleaveland hand squeezer to set the flush rivets through the wing skin, flap brace, and wing half of the flap hinge.