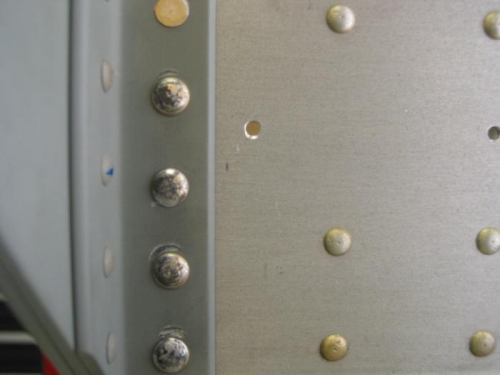
Brief Description: Riveted outboard aileron hinge brackets.
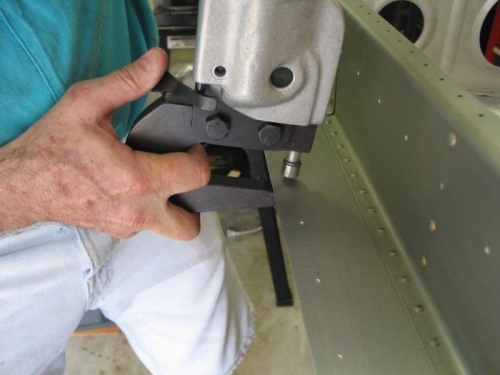
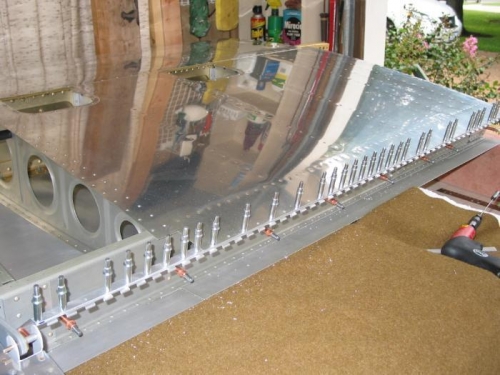
Charlotte and I decided to practice riveting the -5 rivets. I cut a piece of aluminum angle and drilled holes thru them into two pieces of scrap material and then put in the vice. With the practice setup clecoed, we set four rivets to find the correct air pressure for the rivet gun. We wanted to be sure we set these oversize rivets correctly. Charlotte riveted while I bucked using the tungsten bar. The QB wing was on the table backed up against a piece of styrofoam supported by the wall. We set the rivets Ok but realized that the wing had moved slightly and resulted in some dings on the bracket flanges. Hope the tech counselor says its ok or I'll be ordering a couple new outboard bracket assembly kits. Can't put on the gap fairing until I get the brackets inspected. We then set the -4 rivets into the end ribs. We dimpled the gap fairings and the top wing skins and then I primed them from the spray cans. We attached the aileron on the right wing to get the measurements for the flap hinge holes and then drilled the holes using clamps and clecos after drilling the two opposite end holes.