Brief Description: Sanded cowling filler and painted plenum.
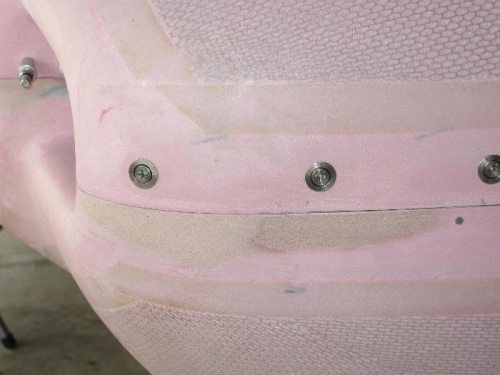
After letting the filler cure overnight on the lower cowl, I started sanding to see if we had added enough. It appeared that we had added just enough and I was able to sand the lower cowl flush with the upper cowl. We may have to open up the gap between the two cowls just a bit for painting. I had to sand off some of the lower cowl left inlet lip (about 1/4") to be able to remove it once the prop is installed.
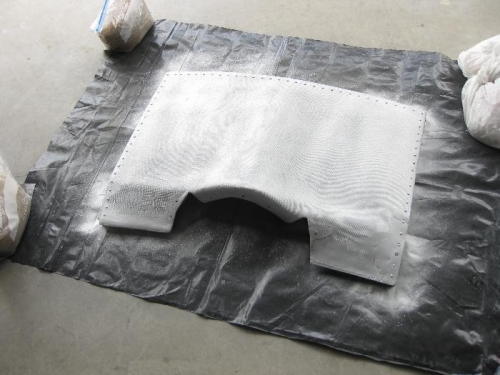
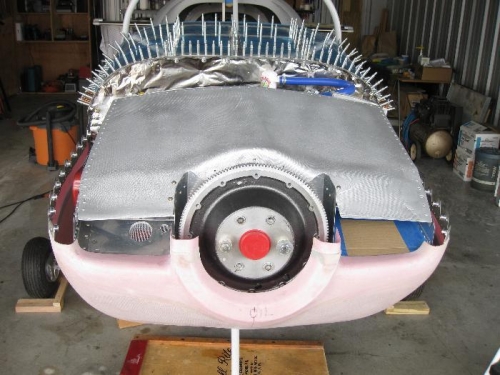
Next I sanded the plenum with some 100 grit sand paper to prep for painting. I vacuumed the dust off then wiped it down with acetone. I then primed it with some Duplicolor gray primer and let it dry. It didn't take long at 90 degrees. I used Rustoleum high temp BBQ silver spray paint over the primer. I put on two coats and it dried quickly. I temporarily installed the plenum for the picture. I still have to install the top plugs after removing the dehydrator plugs when it comes time for the initial start of the engine. And before the initial start, I have to install the wings, rivet the upper nose skin, install the windshield, and a few other items which have slipped my mind. But we'll git'er done sooner or later!!