Brief Description: Sanded wheel pants and drilled plenum flange.
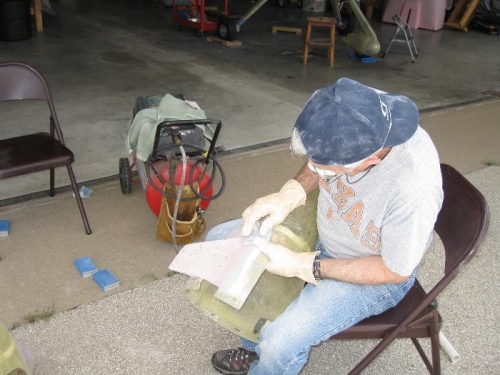
We sanded, sanded, and sanded some more today on the intersection fairings for the main wheel pants. At some point my right arm, hand, and shoulder started hurting, so I connected the compressor to my orbital sander. I kept the pressure low and the sander speed slow so that I wouldn't take off too much of the low density filler. It worked OK on the relatively flat areas but not on the 180 degree curvatures. Needless to say we finally sanded to smoothness. I then installed the wheel pants to see how they fit. We will smooth the fore/aft attach line and any low spots on the intersection fairings when we get some Superfil.
Switching tasks, I clamped a fluted 1" x 1" angle to the left rear baffle and match drilled holes. This angle had to be fit to the #4 baffle which holds the oil cooler. Since I had modified this baffle for a larger oil cooler than Vans called for, I had to fit the angle lower on the support structure than I wanted. I'll have two screws to nutplates instead of the three that I had planned. The flange that will run forward on the #4 side baffle will take up the load on the corner OK, once the fiberglass plenum is riveted to the flanges.
Sanding wheel pant intersection fairings.
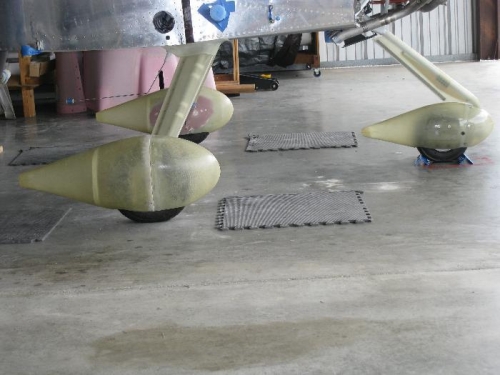
Wheel pants installed to Superfil the fore/aft attacment line.
Match drilling a fluted angle to the left rear baffle.