Brief Description: Added piano hinge to nose gear leg fairing.
We arrived at the hangar later than usual and ended up staying later than usual. To attach the piano hinge to the nose gear leg fairing, we studied the drawing and took measurements off the drawing that we transfered to the fairing. We glued one half the piano hinge to the inside of the fairing and then clamped it with spring clamps until it dried enough to adhere. Next we placed a line for riveting and measured off the spacing. We then match drilled the fairing and hinge adding clecoes as we drilled. After deburring the hinge and countersinking the fairing rivet holes, we riveted the hinge to the fairing. Sounds easy but it wasn't!
The other half used the same measurements but could'nt be glued. We had to add clamps across the whole fairing to get the hinge to lay flat and engage the loops on the riveted half. We then match drilled again hoping it would work out. The secret, we realized, was that the fairing had to be squeezed together while being drilled because it would have to be squeezed togther to engage the hinge loops while the pin was being inserted. It was a tedious task but it was worth all the trouble as we breathed a sigh of relief after it was installed. Another secret is to lube the pin with a little oil. What a job!!!!
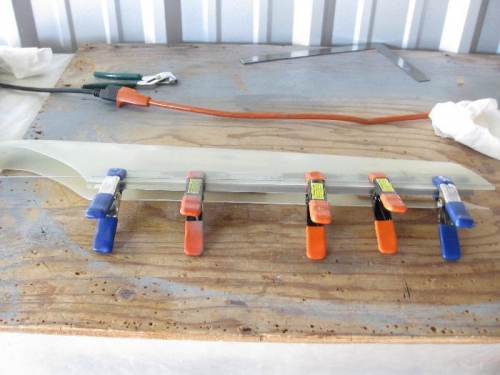
Gluing half the piano hinge to the nose gear leg fairing.
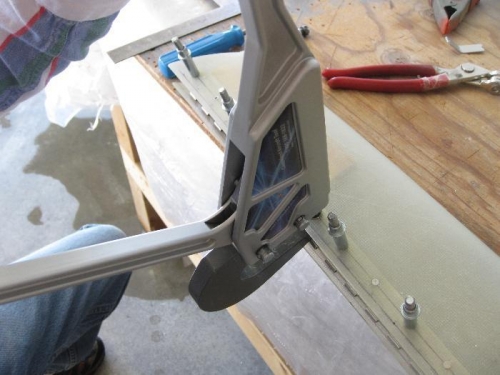
Riveting first half of the piano hinge to the fairnig
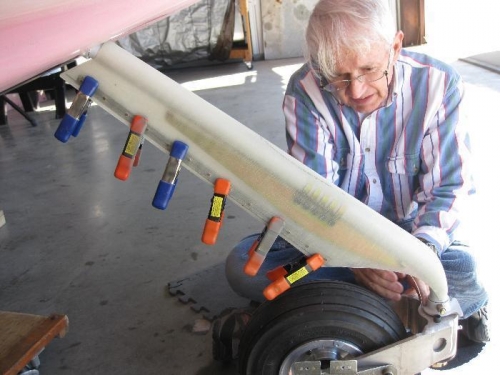
Clamping the fairing as I tried to slip the pin into the piano hinge.