
|

|
|
|
KENNETH T.'S WEB SITE
|
Date: 3-17-2013
|
Number of Hours: 5.50
|
Manual Reference: Vans
|
Brief Description: More nose wheel pant work.
|
|
The nose wheel pant saga continues. We sanded the forward nose cap to match the aft pant. Of course, on-off-on-off, etc., until we had about a credit card's thickness for a gap between the two. This was for the paint. We then taped the cap with the appropriate gap onto the aft pant for match drilling the cap's screw holes and the aft pant nutplate holes. After deburring and countersinking the nutplate rivet holes for flush rivets, we riveted the nutplates onto the inside of the aft pant. So far so good, then------OMG, as I was spreading the aft pant to put over the nose gear pant brackets, ripppppp. I tore the aft pant from a weak spot at the curve in the trim for the tire clearance, up to nearly the top of the pant.
We jumped into action to repair the tear. As I mixed the epoxy, Charlotte cut the three glass cloth strips. I "stipled" the epoxy onto the strips and placed the pant in a safe position for overnight curing. We then mixed glass beads with the extra expoxy and filled in a low point on the molded plenum, patched some spots on the empennage fairing, and last but not least, Charlotte covered the pop-rivets on the rudder bottom enclosure.
We said, "Enough", and went home for a drink and dinner.
|
|
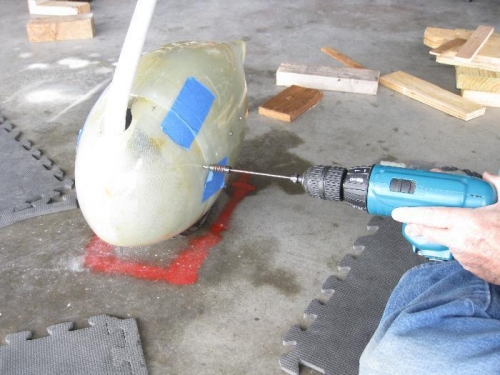
Match drilling the nose wheel forward pant to aft pant.
|
|
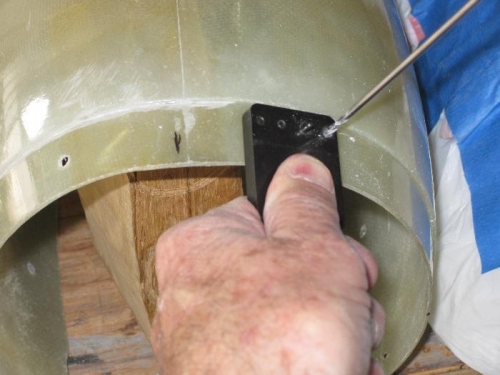
Drilling the nutplate rivet holes.
|
|
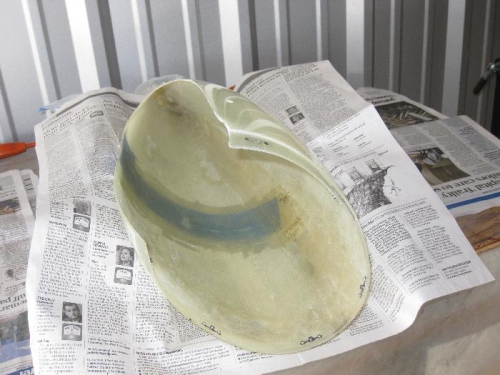
The fiberglass repair after tearing the aft pant.
|
|
|
|
|
|
|
|
|
Copyright © 2001-2024 Matronics. All Rights Reserved.
|