We arrived at the hangar at 10:00 AM and left at 6:00 PM. Needless to say we have not rushed the nose wheel pant job. The tedious part is trying to measure which really can't be done, and everything else. We used Van's drawing to come up with a pattern or template for the first cuts and then trimmed little-by-little to keep from trimming too much.
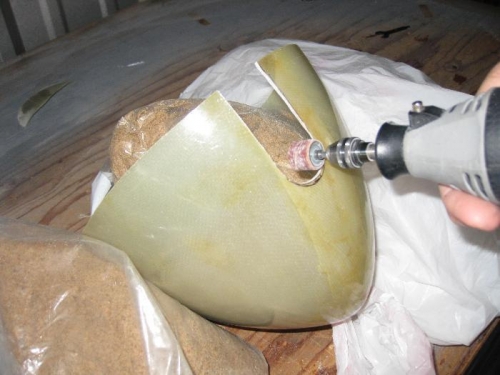
We used a Dremel with a fiberglass cutting wheel, a rotary sanding drum, a file, and a rubber sanding block, as well as a 1/2" x 1 1/2" x 12" sanding stick with the sandpaper attached using Contact cement. By taking our time and an on-off-on-off-on approach, we finaly started seeing the nose wheel pant form in front of our eyes. To drill the holes into the pant to line up with the bracket nutplates, we used a small 12 V LED two wire light attached to a 1" flat stick, and powered by our 12V aircraft battery. By placing the light directly behind the nutplate, we could mark small circles (after positioning the pant per Van's dimensions) onto the wheel pant for drilling. It was John's idea and worked great.
Cutting and sanding slot on forward part of nose wheel pant.
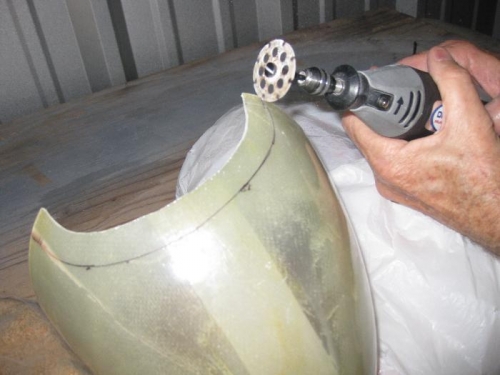
Trimming for the tire.
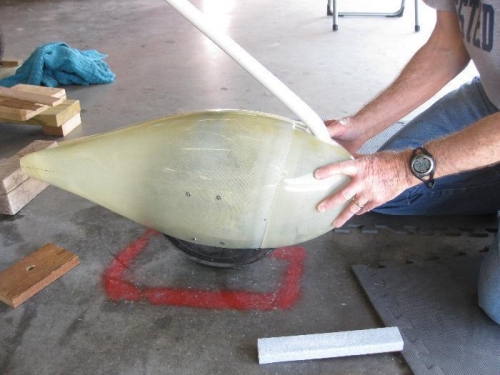
Placing the the forward part to the rear part after sanding.