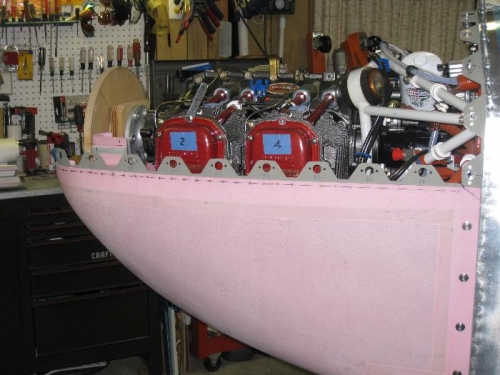
This morning I riveted the side flanges to the lower cowl and tried fitting the upper cowl. The most forward flange on both sides needed to be bent in a little to fit the upper cowl. Since these two flanges were curved they would not bend in. I decided to cut some of the flange off. After removing about an inch at the split line by using the hacksaw, I was able to bend them in slightly. This allowed the upper cowl to fit nicely. The upper cowl is slightly wider at the nose than the lower cowl, but can be filled and sanded to match the upper cowl. We may try some heat from a heat gun and try to bend it to a tighter radius to make it match, but I know the filler method will work, ARGH.
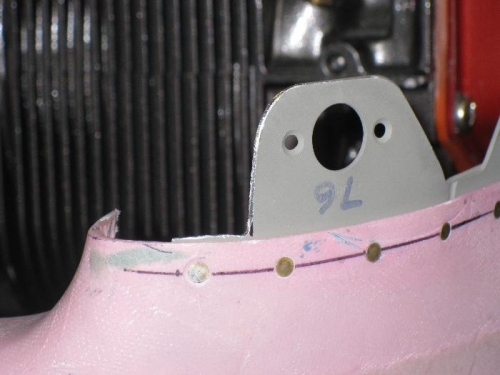
We then decided to draw the holes in the upper cowl but had to figure out how to get a light behind the flanges with both cowlings on. I remembered some flat pancake LED lights that Charlotte had under her kitchen cabinets. So I borrowed one and taped it to a long thin aluminum strap. We were able to put the light right behind each flange hole so that she could draw the circle. I inserted the long strap through the inlets to reach each flange. Worked great! We removed the upper cowl and Charlotte held it while drilled the holes.