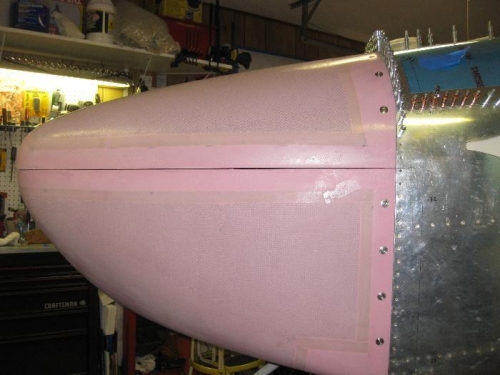
My brother Clark came over today to help me with the lower cowling. He had previously helped me with the FW trim of the lower cowling. It takes two experienced minds to determine how much to trim fiberglass. Clark has much more fiberglass experience than I do because of all the boats he's restored. We strapped the lower cowling on and clecoed the nose flanges, then after discussing what we had, we drew a thin line on both sides of the upper cowl. We removed the upper cowl and sanded to the line. We did this about three or four times until we agreed that it looked about right. The final trim will be accomplished after the side flanges and camlocks are installed and everything is tight.
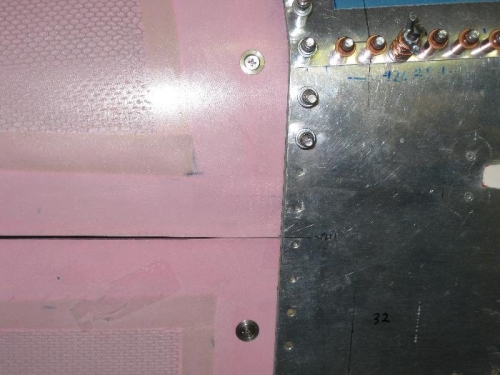
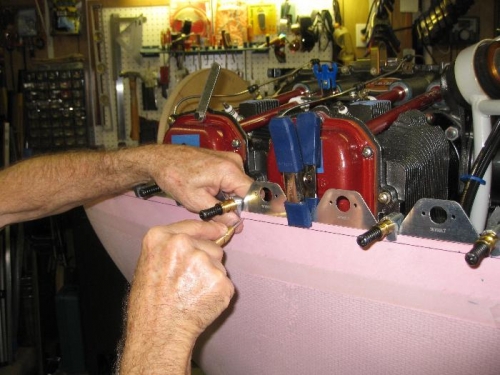
We then tightened the strap and started drawing flange cirlces on the lower cowling. He held the light while I used the template and Sharpie. Four circles on each side and eight along the bottom (four on each side of the exhaust exit). We removed the lower cowl and he held it while I drilled out the circles. We reinstalled it and inserted the grommets/studs. The aft gap to fuselage skin was slightly over 1/16", but can be adjusted after the split line flanges and grommets/studs are installed. The upper cowling has three "floater" receptacles which also allow adjustment. My brother left and I clamped on the side flanges and drew a line for rivets. Spacing is one inch between the rivets. Enough for one day!