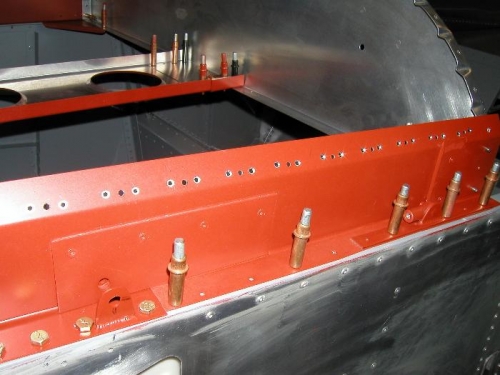
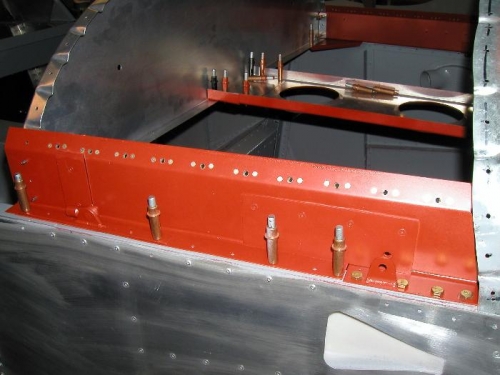
This afternoon my speed nut sample pack arrived, and I have chosen the best option to fit the front firewall and the rear instrument panel. I'll post some pics when my order arrives. I also installed the 8 top engine mount bolts which bolt into the top aluminium extruded angle. My next job was to counter sink all the rivet holes for the nut plates, this takes a little patience when your using a drill, but it works out quite well. With this done I installed the right side nut plates. Because I don't have a rivet squeezer, I am just using a flat steel plate, a bolt and a small tack hammer to set the rivets, it works well but it's a little teadious.
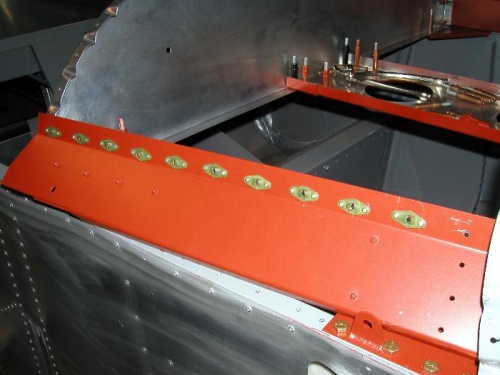
Counter sunk all the rivet holes on both the left and right flashing
Rear view of installed nut plates on the right side flashing