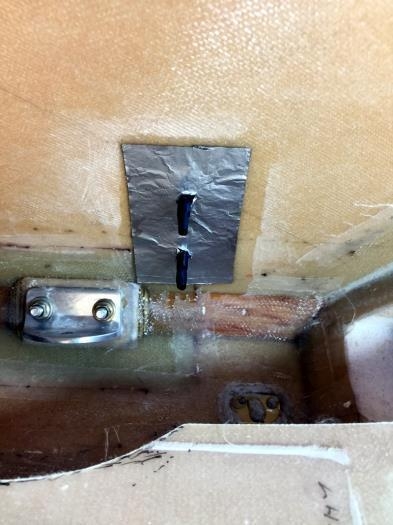
Next up was three plys of glass layed up individually on foil. I also very carefully moved the fibres where the holes for the threads went rather than just poke a hole. I protected the threads with some heat shrink while I put the glass on. Before that of course I wetted the area out with pure epoxy and then added a little flox to ease the transition from the clickbond to the base glass of the fuselage side. Its not much flox, but I feel this would minimise or eliminate any air getting trapped.
I was very careful with each separate ply and then a covering of peel ply with pre made holes went on top. The BID glass was biased at 45 degrees and I ensured no air bubbles and used my gloved fingers for all the smoothing down.
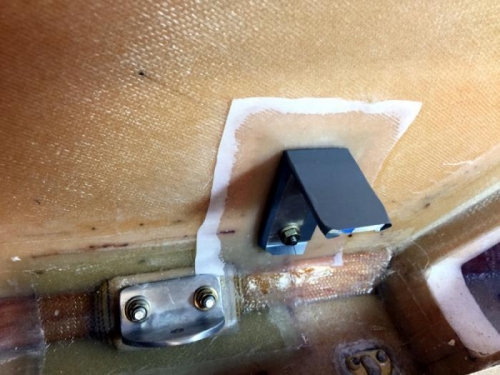
At the end I removed the heat shrink and put the bracket back using fresh grey duct tape for a release. The nuts were lightly done up so that the wet glass would be an extra good fit for the bracket. Pic 2 and its ready to cure.
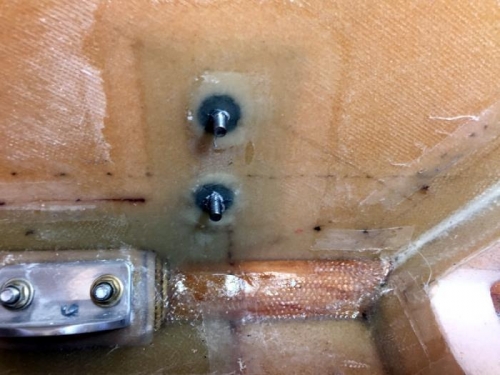
Pic 3 and I have removed the bracket and with the peel ply off, I have a pretty clean install. It is amazingly strong as it should be for such an important part as the aircraft elevator trim.