The next two logs are really to document my installation of two clickbonds to mount the pitch trim bracket.
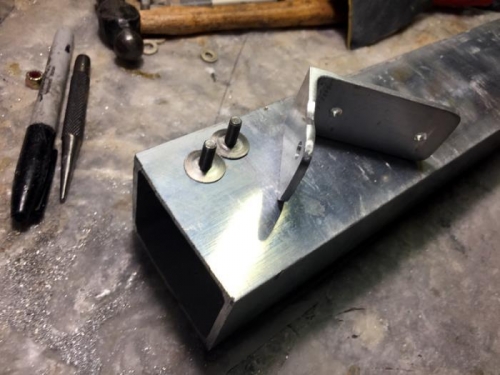
I made the bracket from a retanglar piece of 6061-T6 that was once a gyrocopter tail boom. Thats another story. I cut it out with a jig saw and then trimmed to make an L shape as you see in pic 1 sitting next to the click bonds.
Why did it take 6 hours? ... because I made a complete bracket all the way down to a sandpaper finish, but the main 1/4" hole was not sitting where it should. So I had to remake it from scratch.
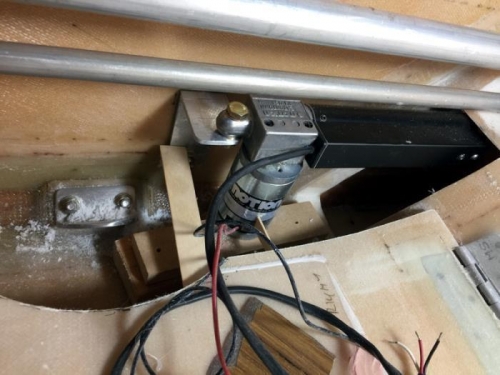
Once the bracket was good I placed release tape on the rear and prepped the fuselage side and acetone cleaned the click bonds which were then secured via nuts to the bracket for an exact placement. I used West epoxy for the flox which is nice and thick for metal to glass bonds and pure epoxy on the wall. I then assembled the pitch trim in place and used a few sticks as in pic 2 to hold it in the exact position I wanted for the cure.
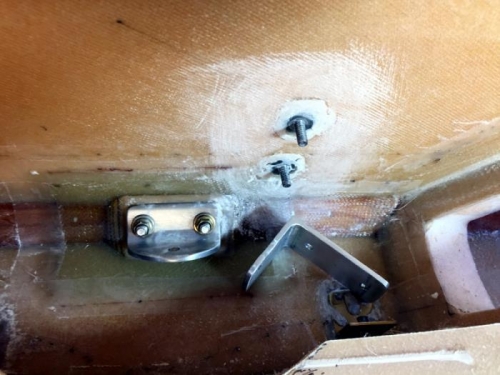
Pic 3 shows I managed not to stick the bracket on although it took a bit to release it. You can see I have prepped the fuselage wall again, dulling the fresh epoxy as well.