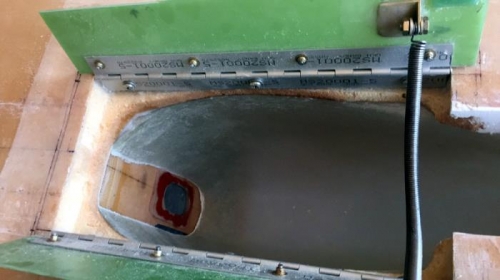
As you can see in Pic 1 the inside of the nose gear box needs a lot of cleanup. I removed the doors and made smooth transitions all around. The front inside was a little out of shape so that got the heat treatment and a few clamps. Finally some 5mt glue with a little flox to secure it all in place.
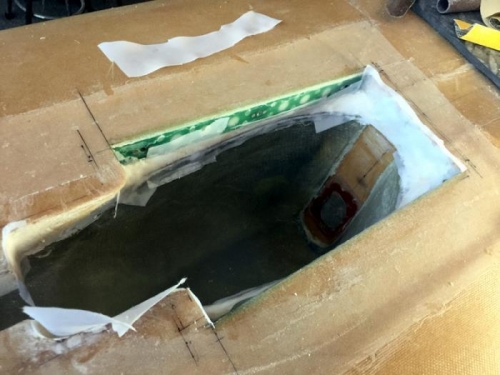
I sealed the edges with micro and let it all cure. After some thought I've gone for 1" wide tapes at the box edges and then either a little more micro or pure epoxy to ensure all the foam is sealed. I couldn't see the point of extra glass adding weight and even the 1" wide single ply might be seen as over kill. The box is like a rock now which is a consideration as it might get a kick when entering the cockpit.
I also wanted to ensure it was solid as I may mount a few hardpoints on it later for some electronics. Its going to get pretty tight up there in the nose.
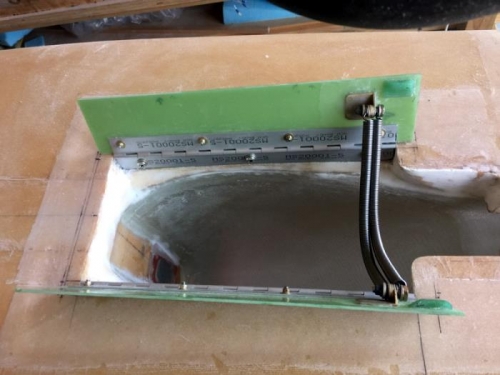
Pic 3 shows its all done and it looks far better than the photo. I'm quite pleased...of course unless you crawl under the plane and open the gear doors, no one is ever going to see this. At the suggestion of Darren C. another aircraft builder, I've added a second spring which does a better job of keeping the doors open...they still close nicely.
I might paint this area black later. Dick Rutan did this in his Long-EZ to retain night vision as there can be reflections when the gear is down at night. I'm not sure yet as I like looking through the view window to see if its black or light. If its black... the gear is UP!