Finally I've floxed the top mounts in place. Yipppeee!!! I worked out my glass sizes and went for a two ply layup on foil and plastic with all the pieces neatly cut out.
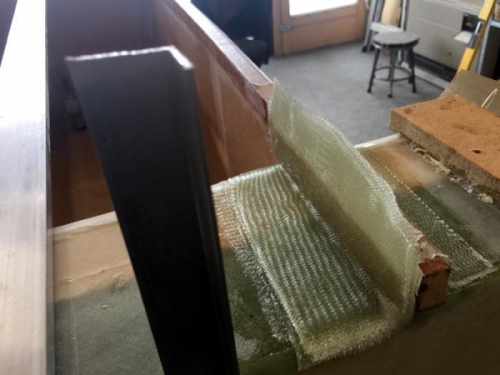
Pic 1 shows after preping the spar I've placed 1 two ply piece over the longeron and onto the other side per plans. Then another 5 lots of the two ply smaller pices as backing for the extrusions. (12 ply total) You can see this method is pretty neat. I used a small amount of flox on the inside too the ease the inside curve and ensure no little gaps.
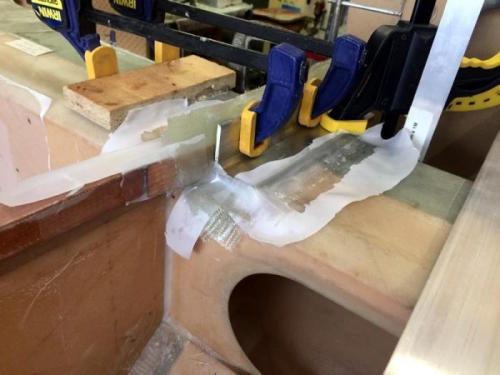
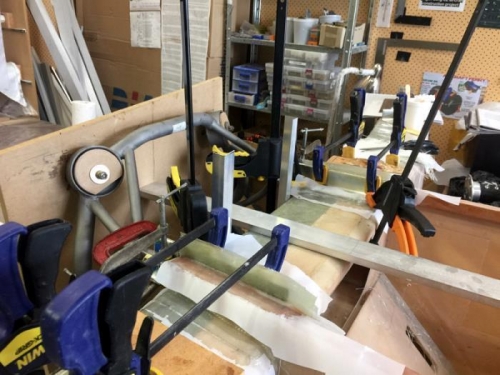
Pic 2 and things are clamped in place. I got it stable then added the engine mount dry clamped to the extrusions and spent an hour or so ensuring it was where it needs to be per plans stations. The mounts were floxed in of course and then lots of excess ozed out for a clean up.
Once I was happy I peel plyed a few exposed edges and checked everything again. It shoudl be OK now. I'll leave it a day or so, then a big clean up and we can look at rotating the fuselage and doing the bottom mounts. I'm looking forward to getting this step completed. Still a bit to do eh?