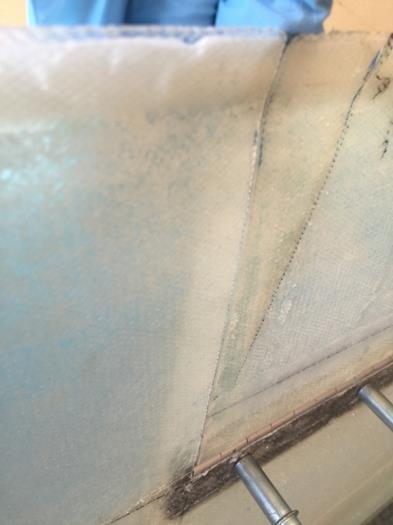
A lot has gone on here over several days. Pic 1 has the left aileron in place with clecos and I'm checking that the skins are exactly equal on both sides. Well they are close but I can fix it later so they are perfect before I put the clickbonds in.
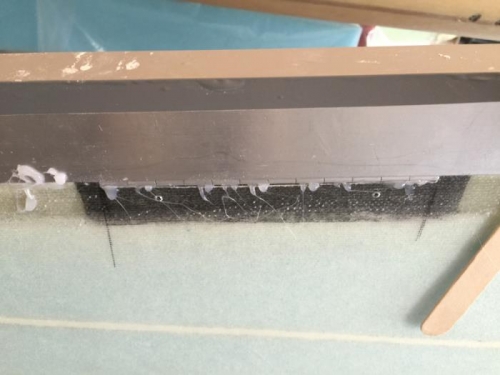
Meanwhile I'm on the right wing setting the aileron hinges in place. I line them up with the straight edge and hot glue. Then it was a check with the aileron in place to see if it was perfectly in line at the TE. Not so. I went through a process of lowering the hinges about .05" to get it spot on. That takes some very careful sanding and working with the levels and rechecking.
When I was happy I again checked that the hinges now hotglued in place with the aileron in position was correct. Haaa just like the other one the hinges are somehow not perfectly in line and there is a tiny gap.
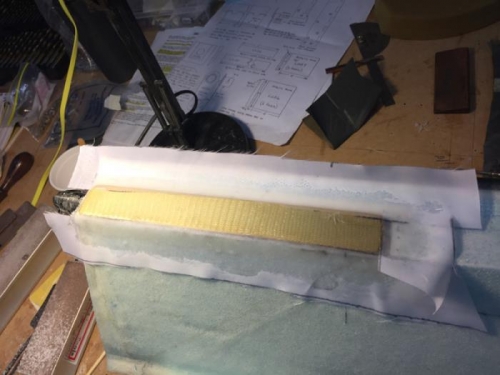
Pic three shows a thin piece of 2024T3 that was just right in place. Alodine and 1 ply of BID as usual. Less than .5gram weight penalty is worth it to get exactly in line. I have no idea how other people get things right the first time. Please email me to explain.