I did quite a bit more prep and the layup in one day but I've spread it over two entries so there are a few more pics for you... whoever you are :). I'd also hot glued aluminium angle to the outsides and prepared sticks and things for the inside clamping, cut out all the glass and foil pieces and written up scheduals for the layups as usual.
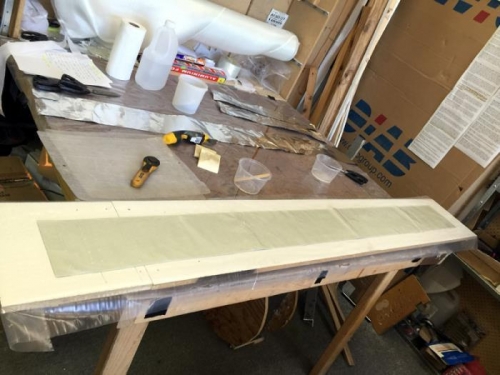
I made a really long board for the main 3 ply foil layup. I've gone for an exact length and then I'm adding a small three ply piece to the outboard part of the rib as a separate overlapping piece. This way my main piece doesn't have to have that extra width all the wazy to the end. The inboard section will be done at another time.
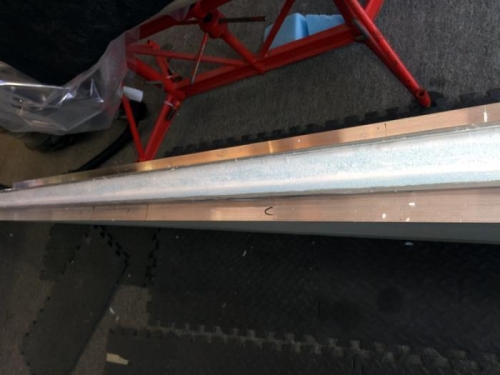
I spent some time with micro on the blue foam as you see in pic 2. Once that was done I mixed a really stiff batch and did the corners and a few divets. BID rarely goes down without a few tiny voids but I do want to minimise them and have no bubbles of course. I use my fingers a lot to get things sitting down and allowed a bit of time for the epoxy to start stiffening up a touch.
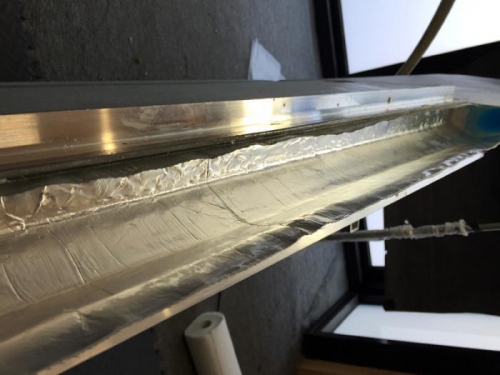
Pic 3 shows the foil in place and partly smoothed out. This is a great method. The plys are nicely wetted out and the foil allows a lot of time for getting the BID sitting well in the corners and flat on the sides.