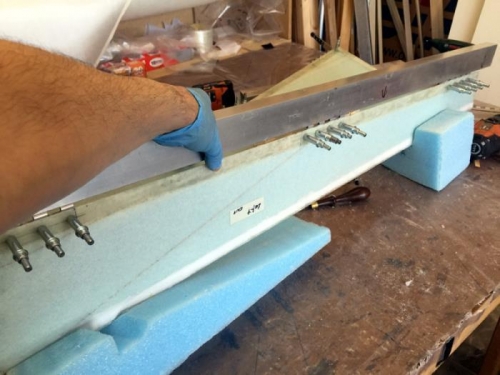
Yes I though today would be a short one. Wrong again. I just had a feeling about the hinge alignment and tried a different staright edge. Hmmmm not so in line as I though. In fact I tried lots of pieces of aluminium angle and they didn't match my old heavy metal straight edge... which is not long enough for this job. I eventually went with some box section aluminium as you see in pic 1. Even this was straight one side and a little out the other.
I have this idea that a straight hinge line will mean less wear from rudder movement. Good thing I hadn't drilled my holes out to the final rivet size yet. I was still two drill increments under. Having done this setup a few times I had it really straight with a really straight straight edge and secured in place with lots of hot glue and pegs.
Next up was setting up the countersink tool and practicing with a few rivets until I was happy. On to drilling out the holes to #30 or 1/8". I then cleaned up and alodined the hinges. I think they were already coated but this covered where the cuts were made and the light sanding I did. Perhaps unnecessary but no harm done. While the metal was drying I countersunk all the holes and prepped the glass.
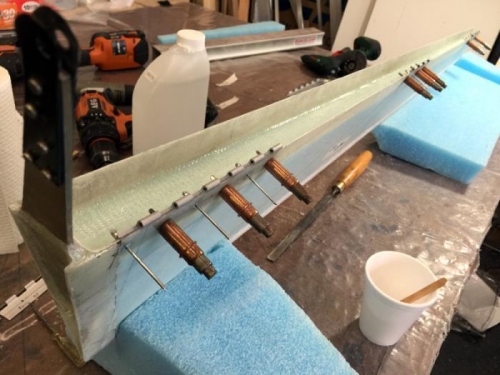
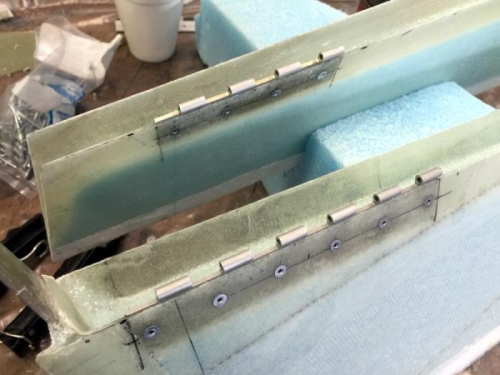
Finally I got to mix some epoxy and made some flox. Pic 2 shows how I went from clecos to rivets I checked the alimentment a couple of times too and all is good. Pic 3 shows some of the rivets but all are done. I have no idea why all this has taken so long, but this tiny little step is completed. Of course we still have the other side of the hinges to install.