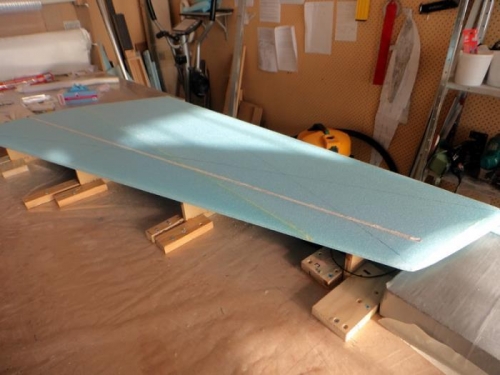
About three days work here, a lot of it in preparation. The layup itself took five hours today. After the tip was carved I had the interesting problem of trying to detect any twist without easy reference points. I took the mid point of the leading edge and a straightedge on the skin top to bottom. I used the Eureka jigs but really a few blocks of foam would have been OK too. I did spend a bit of time screwing the jigs to the bench and then a little 5 minute glue to get the core where I wanted it.
I'd drawn the bias lines for the two plys as well as position lines for the third ply. I really use these during the layup and it makes things a lot easier to line up.
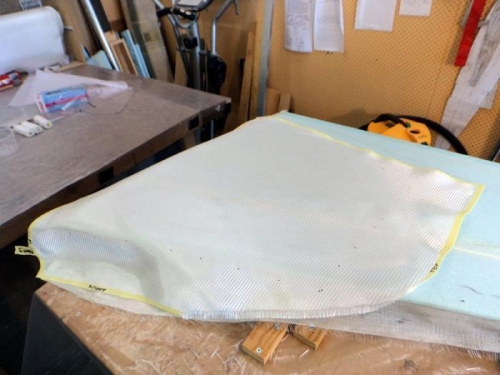
The first pic shows the foam secured and it has a coating of micro. The room was preheated overnight as usual and the glue nice and warm. Pic two is after two plays of UNI per plans and shows the BID patch that goes where the wing attachment plys will be. I prepared the BID with tapes to hold the shape correctly. After laying it out on the job I tweaked the bias to close to exactly straight 45 degrees in both directions and then wet out the cloth to within a couple of inches. Then I cut to the exact line and wetted out the edges. Easy. The third pic is the job with peel ply and curing away nicely.
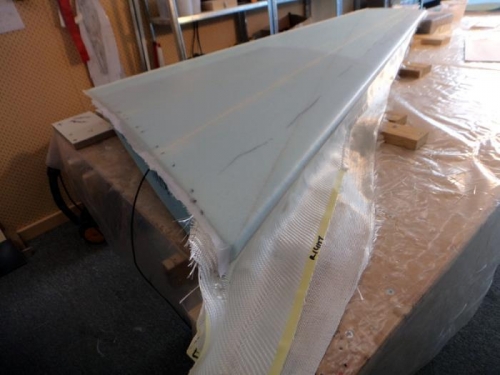
What was tricky was after the first ply of UNI I found the glass would not sit down at the leading edge and was having a bad hair day. I needed to do something! I layed out masking tape just below where the glass will end which is the highest point on the LE curve. Then I put a line of duct tape over the masking tape. Duct tape doesn't stick well to foam at that angle so masking tape first OK? Then I wetted out the UNI all the way to the edge and around past the leading edge point. This worked. I did the same for the second ply but left it long and sort of wedged it around the curve which made it sit where I wanted. All GOOD! I did the same sort of thing using the third ply which is BID. I don't remeber this problem with the wings.. oh well.