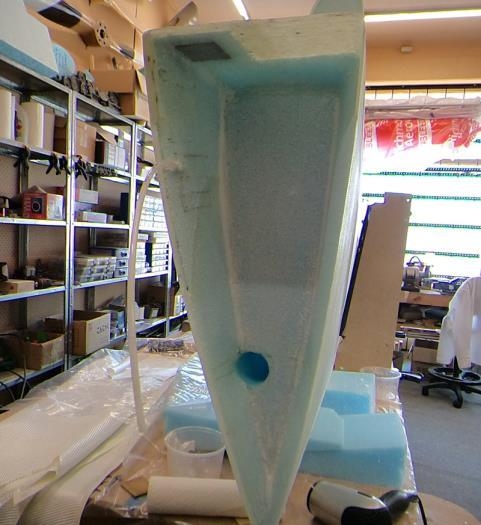
This took about 6 hours and there is a bit of clean up to follow after cure. First up was micro the inner shell which I did with a brush and then squeezed out the excess. I followed up with a dry micro batch on the inside corners and finally a bit of flox around the aileron push rod access hole.
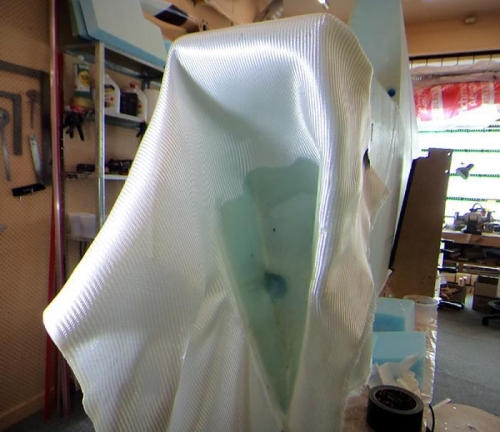
I let it sit for a while and then the first ply of BID. As you can see in the second pic its just a matter of getting it settled in the lower section and then using fingers mainly and a bit of bush work to tease the BID into this odd shape.
The second ply was just not working so I pulled it off and into the bin! Always better to cut another piece of glass and go again. For this job its better to have a LOT of excess at the edges and work it in with a bit of a trim as needed and using tape to support the excess initially.
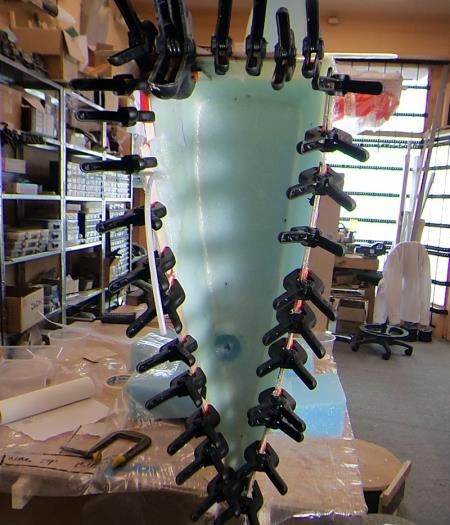
After the three plys, its a small 3 ply layip of UNI over the metal attachment point. I used the foil technique for these tapes and it works pretty well along with my fingers. I had to change gloves several times for this layup. Anyway then some peel ply around the edges and after that another metal hardpoint is added and clamped in place. Finally a bunch of mixing sticks clamped to the edges so I get a nice glass to glass bond. I lined the inside sticked with tape for a clean release. Heater on over night and another job done...