This all took a few days as usual. FC1 was sawn off, always scary and with the Japanese pull saw. As we had a lready cut the other wing, this time was quicker. I then set the part in the jig with the stringline and noted what thickness wedge would give the 7.5 reduction. Only 3mm would do it.
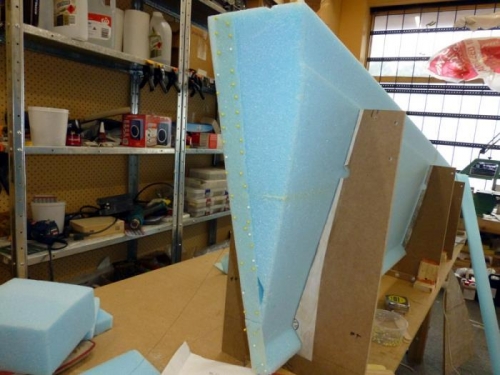
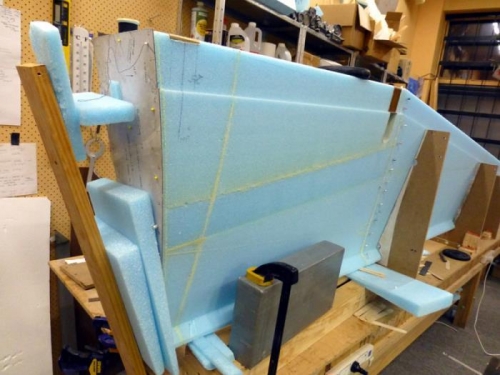
I found some thin foam and glued it in place as in the first pic. Then I feathered it into the part and cleaned up. Then another trial fit and it looked good for the target. I worked out a jigging arrangement as you can see in pic 2 that held things in place pretty well.
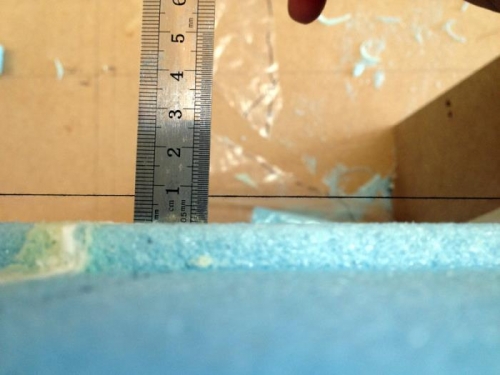
I glued the FC1 block with micro this time, per plans. I wanted lots of setup time to ensure things were right. After a couple of days to cure I rechecked that we had 7.5mm as in pic 3.
Next was to take it all out of the jig and set up the wing on the floor again against the spar. You do not need yet another pic of the wing on the foor. I'm completely over it myself.
I was expecting to have it spot on... but it wasn't. After some checking it turns out the wing will get .06" to be in line with the spar. Seems like I needed 1mm more at the wedge. Give 2" is in range and I'm 0.6" time to call this one good to go. I did my best and cutting it off again is unneccessary give the allowable range.
Next step is to reglue FC1 on the left wing using the right wing measurements as a guide. This is going to be fun.