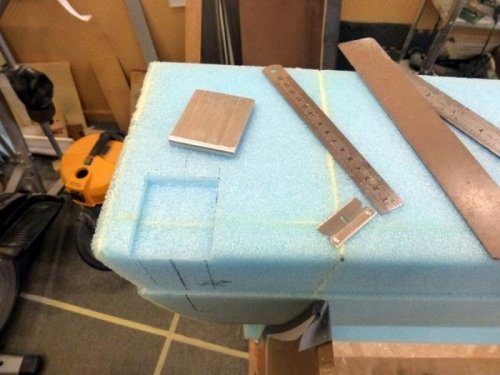
This looked a bit fiddly and it didn't disappoint. I found I hadn't made the LWA6 insert (pic 1) so cut a couple late last night. They will have to be alodined before installation.
Today after a lot of marking out and thinking I made the recess as in pic one and adjusted the metal edge to suit the curve in the sheer web area.
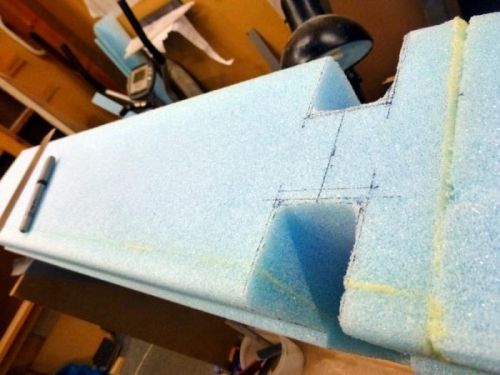
Next as in pic two I had a couple of access areas to carve out of the blue foam. This took a while on the first one as there is a glue join going right through it. The other side was much quicker. I did these very carefully and even had a socket wrench to ensure the cutouts will be deep enough. Its pretty much plans size where the hardpoints go, which it has to be, and a fraction bigger elsewhere, .2" at the most.
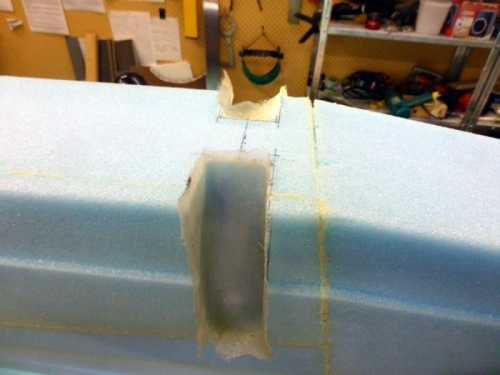
Then I cleaned up and used quite thick micro to line the inserts followed by two plys of BID done on foil. I used my gloved finger to sort the micro. I did make a pleat cut at the bottom of the BID square and folded it over so the piece would fit in.
It looks OK. Once cured I can trim it and then cut for the metal pieces. Amazing to think this is going to hold the wing on. Crazy.