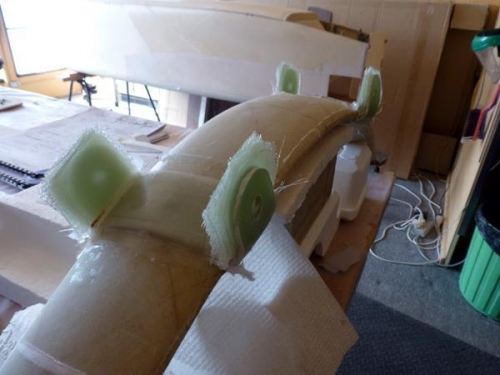
This is the second side of the tabs. The plywood is all gone and now we have them at full thickness. The first pic shows what they look like after the clamps are removed.
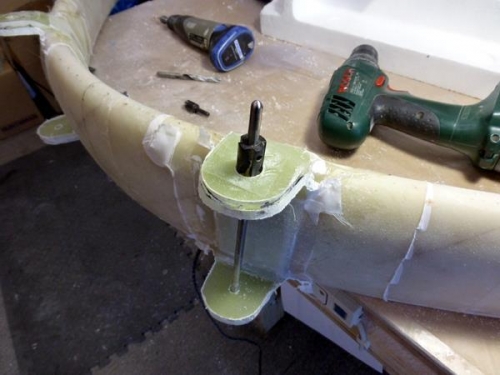
Then its carfully removing the glass down to a rough shape. A vibration cutter first and then into it with the permagrit files. I have a lot of these and they are fantastic for this type of job. Cutting out the other side of the 5/8" hole was straight forward using the same cutter as before but the bit reversed. I still made the other side 3/8 clearance hole which helped guide the bit.
Then to put the tubes in that are oversized by about .02". This turned out to be easy with a dremel and a sanding drum just smaller than the hole. I had to tweak very slightly to get the tubes through.
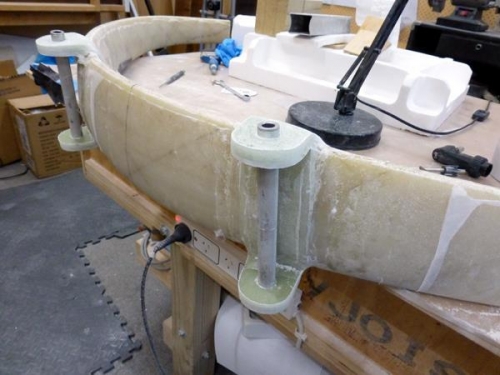
Next was a clean up of the tab shape. I made a cardboard template and had fun for an afternoon making it a little tidier.Now the gear has to go back on the fuselage where we will line it up again and flox the tubes in the exact correct position. I wonder if I'll have to wiiden the holes to get it right or if we were pretty acurate the first time. There is probably a slight variation introduced with the angle of the drill. We shall see when my friendly helper is available. This is not a one person task.