Brief Description: Secure lower seat belt attachments
This step is securing the lower seat belt attachment points and was done over a few days.
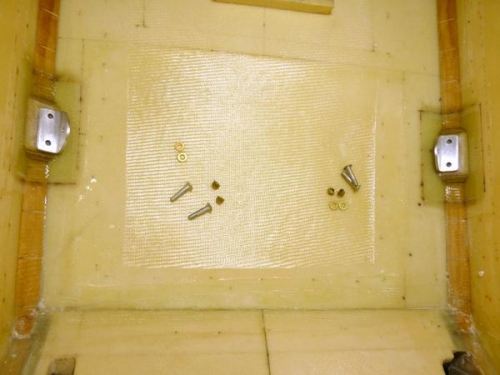
I first 5mt epoxyed each attachment in place and used them as a drilling jig to make the 1/4" holes. Next using the dremel to make a flat inlayed hole for the AN525-416R16 bolts as shown in pic 1 I then tested each hole by securing the fitting to ensure I had 2 to 3 threads showing through the nut.
This was worth doing and I deepened each hole slightly ending up with three theads showing when the job was done. Its just the sort of thing that might be picked up on an inspection if there was any doubt as to the nut being in safety. As it happens I needed AN525-416R18 (1/8" longer) which I felt was a better option than just digging out more timber.
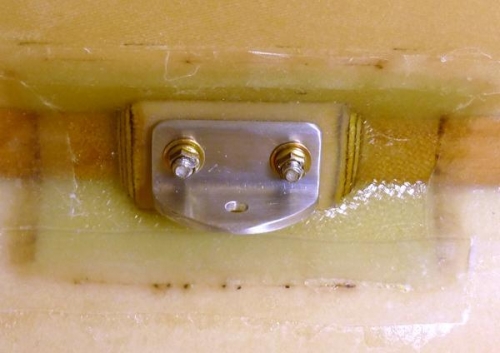
The second pic shows the hardware. I carefully sanded the surfaces, coated them with pure epoxy and then floxed the parts into place. I torqued the bolts to 40 inch pounds. AN4 is usually 50 to70"lbs however I am only using soft spruce then plywood and then glass and this was quite tight enough. Any more would have deformed the spruce. The bolts are in shear and it is very secure.
Thats it for chapter 8. The metal rollover will happen later.