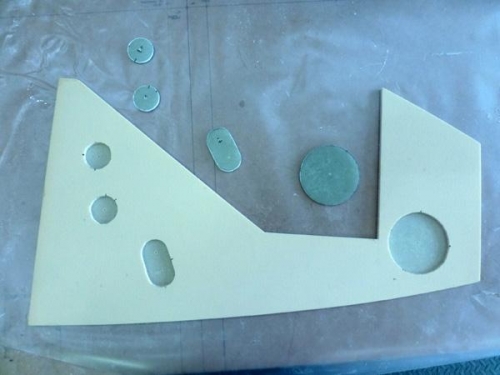
The first pic shows the routed cut outs. A nice job no one will see once the plane is built.
I first micro slurried the NG30's being careful not to get any micro in the routed holes. Then I painted pure epoxy into the holes and around the edges and mating surface of the inserts. Next was floxing the pieces in place ensuing that wet flox was squeezed out the sides edges. I cleaned this up, then painted pure epoxy on the outer surface of the pieces.
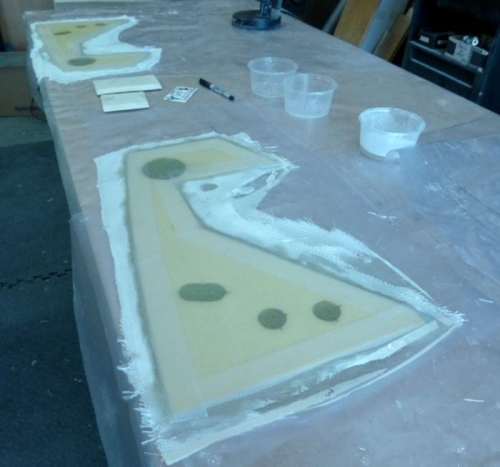
Next I layed out the first ply dry on both NG30's. You can see in image 2 that I'm doing both together. All the glass pieces are labeled left and right and 1 to 4. It is just easier to get it right.
I had pre heated the room to 28C and the epoxy was in the hotbox. I went to a bigger squeegy as well as I wanted to try making the layup wetter, doing it faster and then putting on the next ply and allowing it to wet through from the bottom more completely than I had been doing.
This worked very well and I think I still got the resin/glass ratio about right but the process has less fiddling. I peel plyed all the edges at the end. Not sure if I needed the inside ones...
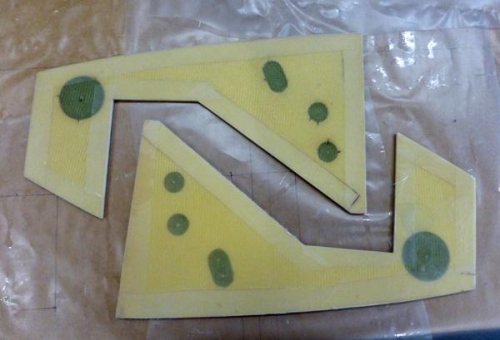
I trimmed after cure with the vibration cutter to about .1" to avoid delam and finished up with hand tools for a crisp edge.