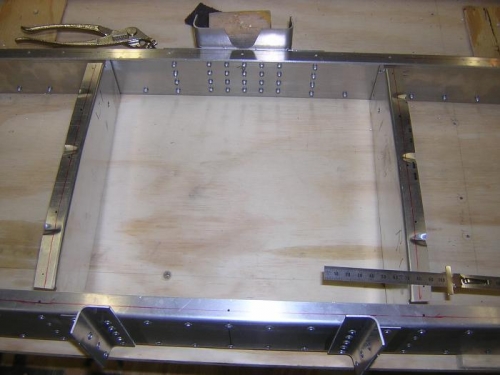
Brief Description: Drill and cleco stab skin to rear spar-2
1. After drilling every other hole in the rear spar (#40) and clecoing, I observed that I could not see the rivet line on some ribs (most prominently the center ribs) and on parts of the front spar. During a visit from EAA Tech Counselor, Clayton Wilhelm, and fellow builders, Laurens Ackerman and Ray Aten, someone suggested that I mark the ribs with a pen through the pilot holes in the skin, then remove the skin, and check for edge and flange distance. I did this. I had to put a 1x2x8 under the bend in the skin to lift(with a helper) the skin off of the front attachments. Inspection showed that:
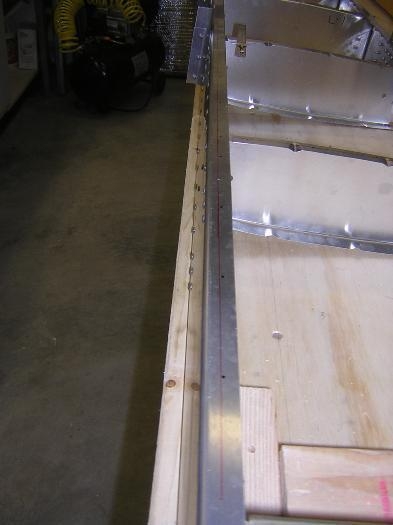
a. The rivet lines on the ribs and the front spar were all correctly marked, easily within 10-mm±1-mm.The rivet hole marks on the ribs and spar were all ≥6-mm which exceeds the CS-101 of 4.75-mm for A4 rivets. Only a couple of marks were <7-mm.
b. Inspection showed that the front spar was slightly bowed towards the rear which reduced the edge distance at the center of the spar by ~2-mm. So the edge distance was still much greater than the CS-101 spec.
c. Close inspection of the left center rib showed that the rear end of the rib had slipped about 2-mm towards the center which was the likely cause of most of the non-square alignment of the ribs. Thus reinforcing the lesson learned that I need to put at ≥2 clamps on rib ends before drilling the 1st hole, and I need to keep at least one clamp plus a cleco for drilling the 2nd hole.
2. I replaced the skin and clecoed it to the rear spar.