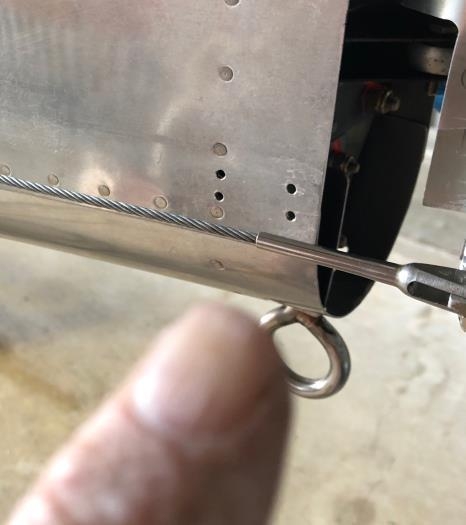
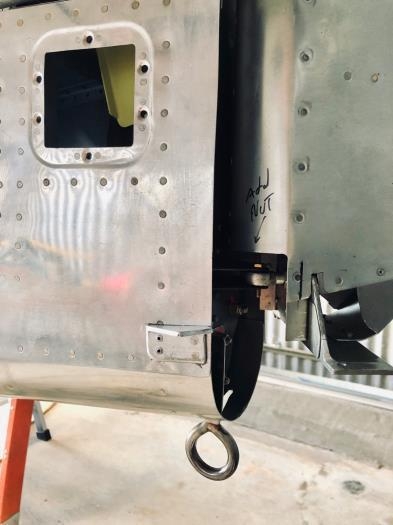
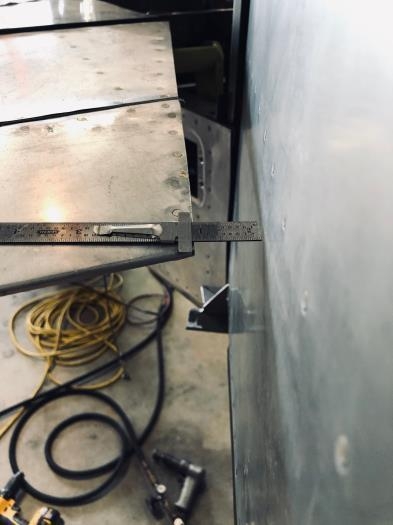
I decided against the manufactured bolt-on rudder stop I purchased years ago. It probably is ok to use but it does use the actual rudder spar as the pressure stop point and I now see how simple it is to make the external stops. So my process was to put the elevators in normal trail, and with the rudder skin 1.125" away from contact, I marked a vertical reference line on the rudder skin where it meets the rear fuselage skin. Using a 1x1x0.125 angle held in place and extended under the rudder, I marked the stop angle by moving the rudder to the the earlier marked stop line. That gave the the cut angle. After a couple of attempts, I was able to make the various cuts to give the rudder stop the proper shape. Its easy to muck it up so think before cutting. Mount it high enough that when the rudder fully deflects the opposite way, the rudder cable moves beneath the stop without interference. Trace the outline on fuselage to get it exactly where its supposed to be when drilling later. Mark 4 hole locations on the rudder stop, take it to drill press and drill #40. Reposition on fuselage, match drill 4 holes. Enlarge to #30. Countersink rudder stop for flush rivets. I used CS4-4 rivets in forward 2 holes and AN426 AD4-6 in rear lower hole and 4-5 (or cherry max if shop head access is tight) in rear upper hole.
Ready to rivet stop in those holes.
One side done.
I left a slightly longer reach on the stop so I could slowly file down after mounting if needed.