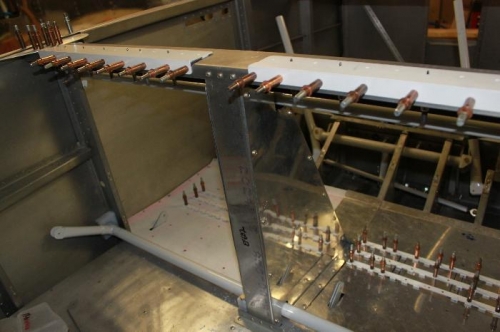
Time to make the electric flap housing. First had to install the powder coated canopy latch weldment and associated UHMW blocks. Bottom of that weldment tube needed to be 3.4375" below a taught line across the side longerons. (Actual plan says the ''center of the tube needs to be 3 1/16 below, but how to measure the center of the tube?? 3/4 tube means 3/8 below centerline so I added 3 1/16 plus 3/8 to get 3.4375. Drilled the UHMW mounting holes, then when clampled, drilled through the bulkhead for mounting. The canopy latch weldment was interfering with slanted flap housing so I did what other build sites showed me. I made a longer mounting bracket and fitted it into place, made cardboard cutouts for the housing sides and proceeed to cut, trim, install 30ish more nutplates to hold everything together and assembled the whole thing. After additional trimming for best fit, the entire assembly, flloors, seat pans etc were disassember for cleaningand priming.
Flap weldment fit fine. All nutplates installed in flap housing and floor.
Note how I extended the top mounting bracket to encircle the canopy latch weldment.
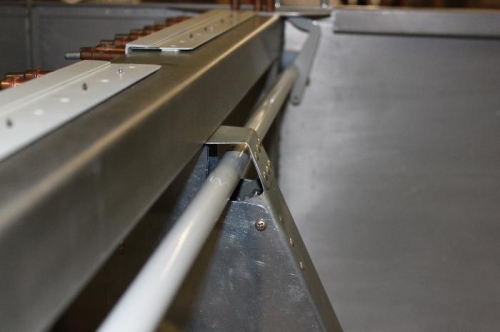
Note on side cover the extra holes drilled to clear shop heads and the flap motor mounting bolt hole