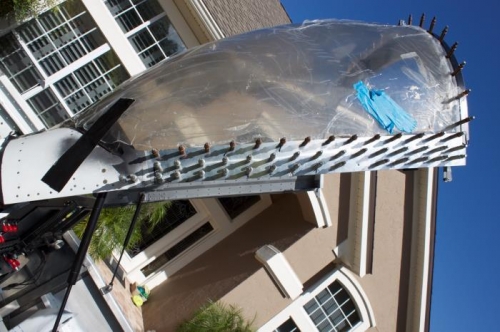
Almost done. Dimpled side skins, countersank the underlying canopy frame and increasing the top row of holes to #30 where the canopy will get screwed in place. I am waiting for #6 dimple dies from the Yard Store so I can dimple that top row of holes for 6/32 machine screws. I'll use acorn nuts on the inside rather than the thin strip of UHMW supplied by Vans. The #6 male dimple is a snug fit in a #30 hole. It can be tapped in and makes a great dimple with the hole ending up being just right for the 6/32 screws. I am going to countersink the canopy holes with a #30 countersink and then enlarge those holes to 3/16. You would be surprised how much the canopy expands at 95 degrees F sunlight after being at 70 degrees F in the garage overnight. At least 1/16 or more at the back. The canopy is drilled#30 so there is no allowable movement between it and the canopy frame right now except at the front across the canopy deck. There is where you see it lifting off at the outside corners. Scary at first, but after canopy holes are enlarged to 3/16, and the foreward edge is epoxied and fiberglassed in place, all will be good.
No. The house did not fall into a sinkhole...
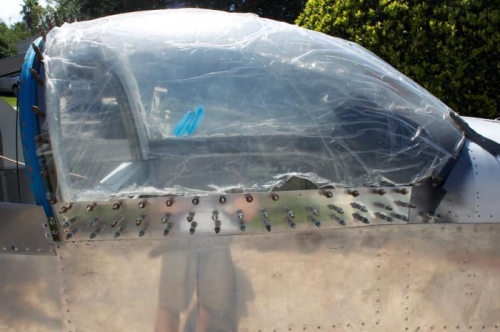
With canopy held tight with #30 clecoes, heat makes the forward corners lift slightly. Scary.