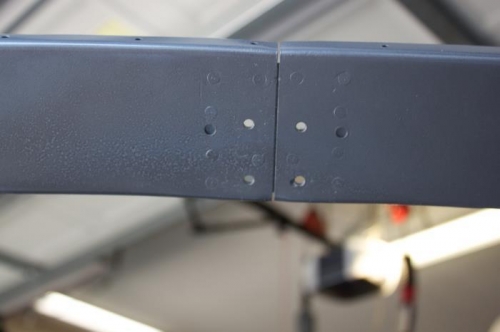
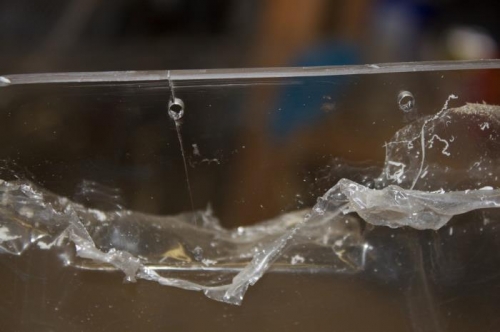
With canopy on the airplane, I adjusted the width of the rear canopy bow to be snug against entire span of rear canopy. The joining doubler was previously drilled and clecoed to one half and the mating canopy bow half was predrilled and countersunk. In position, I marked the doubler plate holes and removed canopy, drilled, deburred, painted and riveted the halves together. Then I returned the canopy to position, after having marked all the drill holes along the bow and the roll bar at approximately 2 1/2". Some had to be adjusted to miss roll bar rivets. I wanted rear window and canopy rivets to be in a straight line vs each other. Taped the canopy down snug and drilled canopy into the metal canopy bow. Clecoed as I went along. Blast of air cleared out shavings before clecoing. Afterwards, I proceeded forward along the canopy frame at 2 inch intervals, right up to the last two rivet holes. Then the canopy cracked on the next to last hole and left me with a disgusting 1 inch crack. I cannot determine why. I had repeated the process 50 times. I'll experiment with some Weldon 3. My only consolation is that its low and short. I stop drilled the small crack with a #48 bit. Quit for the night.
Halves riveted together and match drilled to UHMW. I'll fill tooling holes and center line.