Each cut line was sanded, deburred, and deburred again with the hack saw blade tool. Not a chance I would leave a stress crack ready to jump up and ruin my day by cracking. I have to say that with the canopy in the 90ish degree range, it is very workable. I remember when it was 40 degrees last year and I worried about stressing it if I moved it around the garage. I was able to remove and replace it on the frame as long as I took my time and did not allow it to stretch or flex too much. The 2nd cut removed about an inch of the front, so virtually no tooling canopy material is left. For the rear cut, I placed the top skin about where it would lay and traced its outline. The curve of the top skin still requires another 1 1/2 inches removed more or less so I remembered that when I was marking the next cut line, using that skin reference line I drew on the canopy. It all came out good. More sanding and deburring. For the final fitting for the night, I confess I did employ my wife to put the canopy on the last time. It gave her some ownership of the process and helped me.
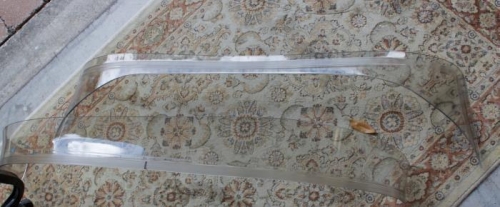
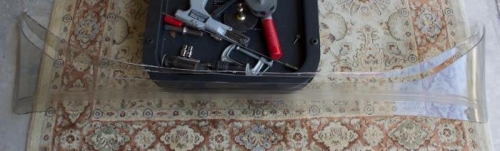
Initial cutoff pieces
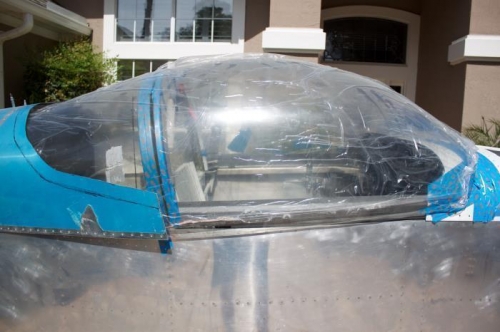
Final placement for the night after 2nd cut was sanded and deburred.
2nd cutoff front piece next to original cutoff piece. Same for rear but no pix.