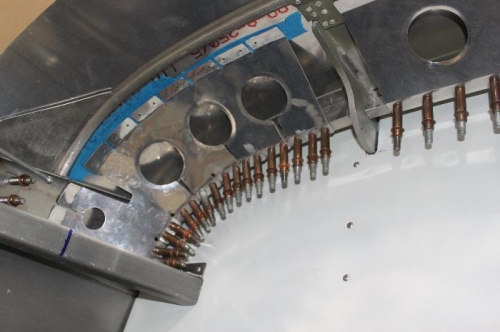
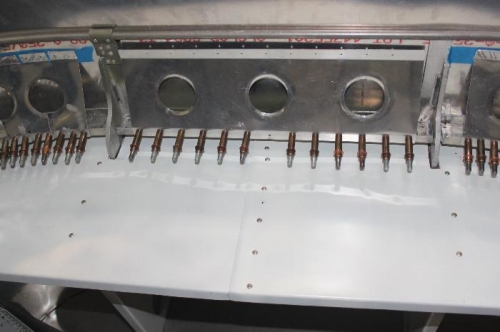
Completed the rest of initial canopy glare shield pilot drilling into canopy frame. Trimming of forward edge for about one foot outboard on each side will remove the slight overlap of the skin laying on top of the forward fuselage skin. Took canopy off and primed and riveted the joining brackets in the front and on the rear F-631A halves. Canopy at rear widened maybe 1/32 or 1/16. That back plate on the F-631 must have stressed outward a little. I will clamp the rear frame and knudge it back in dimension. Riveted the hinge arms to the forward frame. Fitted and drilled the 3 canopy reinforcement brace parts to the canopy frame first. Those required taking off a few times to widen the slotted areas. Doing that permitted the braces to make the slight curve and have a good fit up against the canopy glare shield skin from underneath. Remounted the canopy to be sure nothing changed by riveting. Nothing did. I will crawl inside with the canopy mounted and drill the reinforcement braces to the canopy glare shield skin then remove the canopy again for side skin trimming and pilot drilling the reinforcement brace connecting shims. They span the slots in the braces to add even more stiffness. The frame is already getting nice and stiff. I like it. After that I will take the 3 braces off, and prime and paint the whole thing.
Drilled this while off of the fuselage. Easy.
Will lay on my back and drill the aft side from inside the fuselage while mounted.
End braces require some flexing and trimming of the ''slots" to fit well.