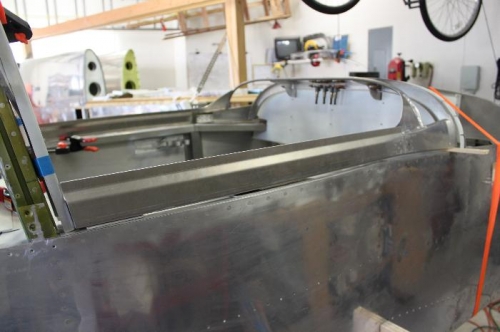
Made spacers to keep the canopy frame F631A 1/4 inch away from roll bar and clamped it in position. It takes a LOT of tweaking and moving it ever so slightly to get all areas to match evenly with the roll bar outline. Then I took the side frames and clamped them in place while I marked where they met the forward canopy frame. Cut the excess length off the side frames and reclamped. Then it was a long process of aligning the fuselage longeron/side skin to the canopy frame. had to often remove the side rail, put it in vise and softly tweak the shape to align perfectly with the fuselage. That was simply a bitch. The forward canopy frame is not solid yet and sometimes it seems you are pushing a marshmallow around. I finally got both sides in proper shape and backdrilled through predrilled holes in the C613 connector plates to join the canopy side frame and the forward frame with 14 clecoes each side. (10 through the side and 4 through the bottom of the connector plate. The bottom gets the addition of a small manufactured wedge to account for the slight change in direction of the forward frame and the side frame where they meet. Now its starting to get much stiffer but can still be flexed. Not sure what eventually makes it rock solid. I imagine the 50 or so clecoes holding it together allows some movement and will get stiffer after I prime and rivet all that stuff together. Pictues to follow.
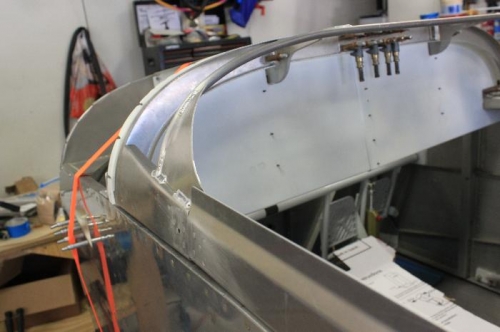
Ready to continue by drilling the F631 to the side rails
Took a LOT of time to get the frame aligned to the fuselage.