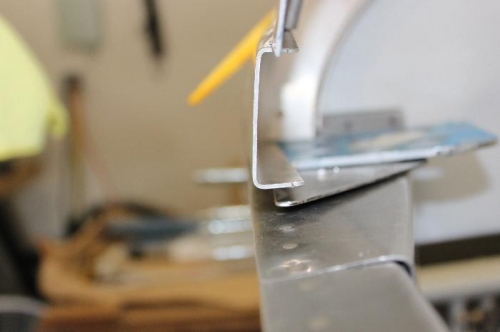
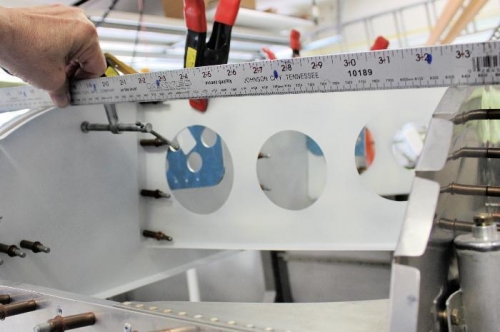
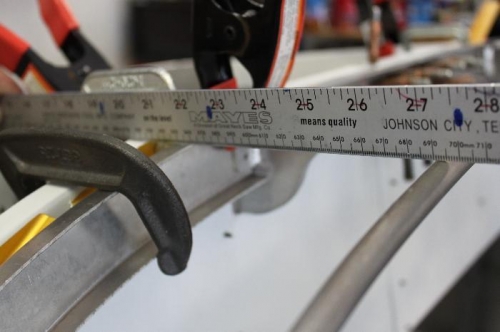
Idea is to have the canopy skin and the forward fuselage skin exactly the same height when done so you get your steel yardstick and see that all surfaces flow continually front to back. Check the sides of the frame to know they are exactly where you want them. Flush to the outer skin if you want an overlapping skin, or in by a skin width for a flush canopy to fuselage side skin fit. I went for no overhang up front. I had to shim up this front frame 1/4 inch on one side and 3/16 on other way up front. It even rises more at the rear of this frame, where I will eventually join it to the side frames with another connecting plate and wedge shims. As I checked the match up of the firewall, subpanel and forward canopy frame parts, I found a few spots around the middle where the round tube (aft most part of this forward frame) is slightly lower than the rest. I think its because when I spread the forward channel, that rear tube was forced down a little. That area is what overhangs the instrument panel and maybe its ok to be a little flatter there as it crosses the middle of the instrument panel. We'll see. More stuff to check out.