Brief Description: AntiSplatAero Nose Wheel Reinforcement
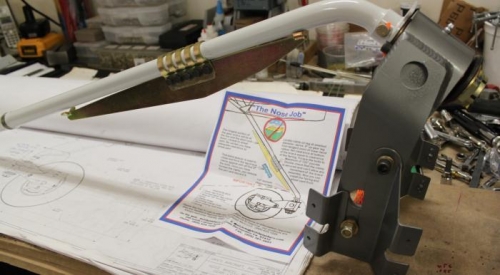
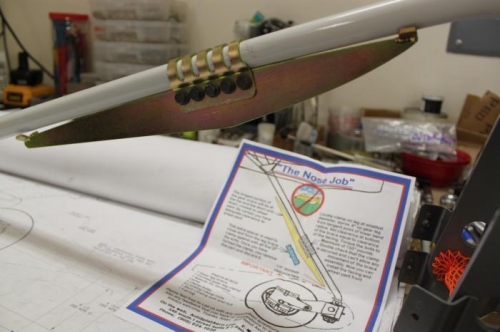
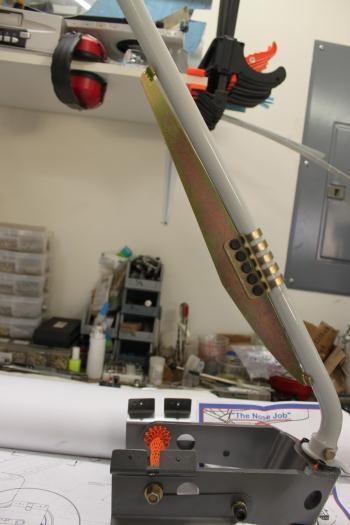
Used the bent bolt included with their hardware to pull the substantial clamp closed into position with the help of some hardware store 1/4 inch bolts. After it was mainly squeezed into shape, the bent bolt was a bitch to remove, but after actually spreading the clamp slightly, it came out and then I used regular 1/4 inch bolts a little longer to catch and pull it tighter. Some question about locating the clamp, but it will become clearer when I fit the fairing on the wheel. I need 1/4 inch clearance from between the wheel fairing top and the bottom of the nose job. I looks about right as it sits. Torqued nuts to 140 in/lbs. Made sure the nose job was in line with the axis of the gear leg. I put a reamer into the upper gear leg mounting hole, clocked the gear leg to 90 degrees, and measured the face of the nose job to be sure it read the same 90 degrees. It did. Instructions say locate clamp 8 inches from the beginning of the curve of the gear leg, but the clamp is 4 inches long or so. Is it 8 inches from end, middle, or beginning of clamp? I used middle of clamp at 8 inches. It can be moved.
Have to make sure of clearance between wheel fairing and nose job. 1/4"
It was very straightforward to install. Thanks Allan.
I believe it will do its job of helping prevent prop strike and nose overs.