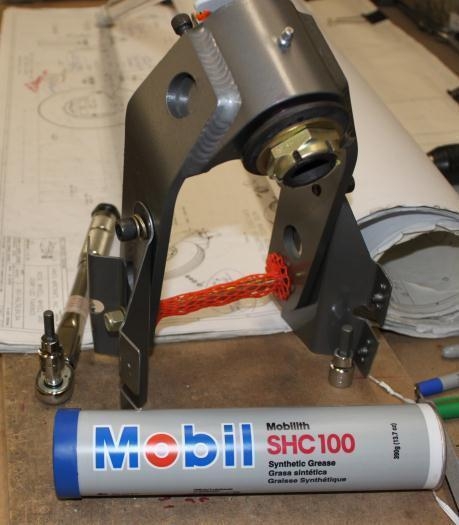
I sent the nose wheel and stuff to AntiSplatAero LLC to have the ''bearing job'' done to it. Allan Nimmo removes the tapered bearings and races, lathe cuts for straight permanent sealed bearings, adds a middle spacer inside the wheel, balances and shaves the tire to perfect round diameter. $235 plus shipping. I can then torque the axle bolt without concern for binding wheel action and others have said how very smooth the wheel performs afterwards. I cleaned, primed and painted the wheel parts as you can see. Yes, they will get dirty, but tell me prime and paint ever hurt anything. Besides, it looks good. Reamed .3090 the bolt hole for the top cap. That cap prevents over rotating the wheel side to side. Used Vibratite on the hex cap bolts whose heads serve as stoppers against that cap. Mobil SHC100 lubes up the assembly. I torqued several of the bolts/nuts that won't need to come out now. The sideways breakout tension will be set at 26lbs using a fishing scale after I get the tire back and installed. Guess I could set that now, but I'll wait. Added the wheel fairing mounting brackets with platenuts and proper slots cut into their sides. Note I mistakenly attached them to the opposite side they belong. They should be perpendicular to the white gear leg bottom. Easy fix.
All the parts attached for 1st time.
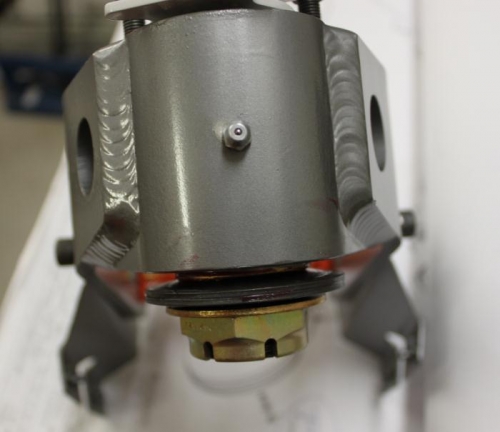
Fill it up with grease soon.
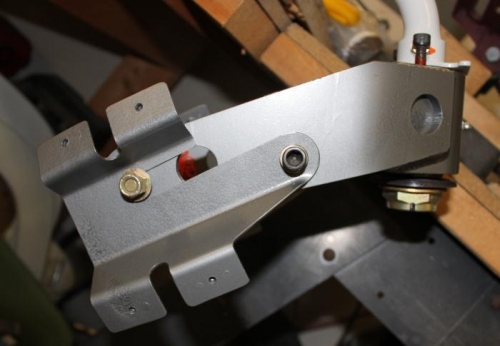
Fairing mounting brackets. Also, you can see red vibra-tite drying on the hex bolts.