
|

|
|
|
Wendells RV-6A
|
Date: 8-14-2015
|
Number of Hours: 8.00
|
Manual Reference: Paint Parts
|
Brief Description: Disassemble Roll Bar for final paint
|
|
For the final time, I disassembled the roll bar assembly for final sanding and painting of all parts associated with the canopy. The interior of the top skin, the roll bar, the roll bar brackets, the seat brace, and assorted attached parts were sanded, cleaned and painted with several coats of Rustoleum hammered gray enamel. The stuff is excellent for painting. Remember, as you use the aircraft, a simple touch up of the spray can restores beauty vs having to mix paint and activator for the same purpose. Its really a no brainer to use the rattle can hammered gray. It is done. I started reassembling the roll bar brackets and torqued the AN4 nuts to 80 in/lbs. Thats 65 in/lbs real torque and 15 in/lbs of nut resistance that gets added together for torque wrench setting.
|
|
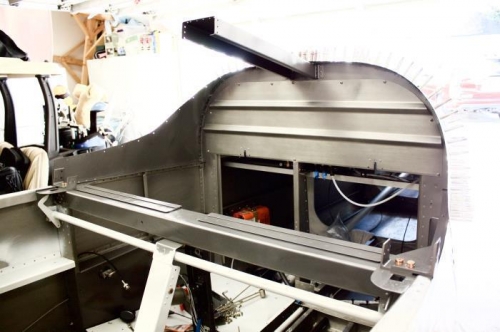
Notice the rear cabin window has been drilled through the skin and window has been drilled.
|
|
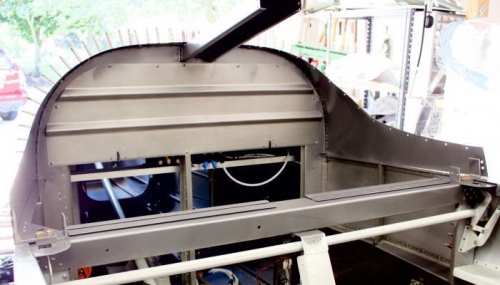
Top skin, seat brace, all attachments painted.
|
|
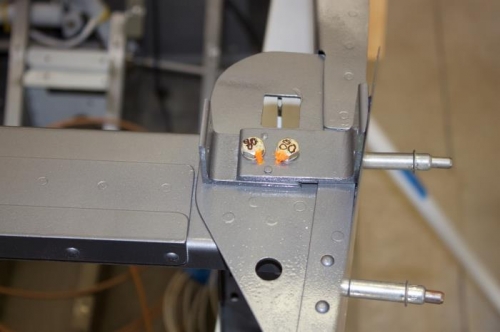
Started reassembling roll bar brackets. 80 in/lb on the torque wrench for 65 real torque in/lbs.
|
|
|
|
|
|
|
|
|
Copyright © 2001-2024 Matronics. All Rights Reserved.
|