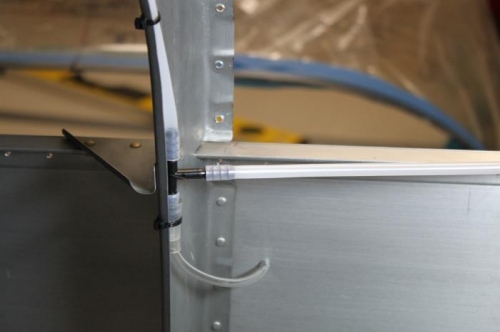
The tubing needs to be RTV'd in place to strengthen and seal. Its a simple setup which Vans suggests. I've seen so many variations with people claiming better this or better that. I figure I'll just do what the designer suggested and take it from there. You heat up the 1/4" line so you can push it onto the barbed T fitting. It fits very tightly then. You also insert 1/8" tubing from the static fuselaqe fitting into the 1/4" tubing. It's snug. Seal with RTV (still needs to be done here). I ran the static tube forward above the longeron (still need to rivet those side skins....) and connected to a Y 12 inches foreward. One leg will go behind the panel to an alternatic static switch on the panel. The other leg goes to the Dynon ADAHRS (2) mounted behind the baggage wall.
1/8 tubing inserted inside 1/4 static tubing. Covered with 3/8 poly tube and zipped to bulkhead.
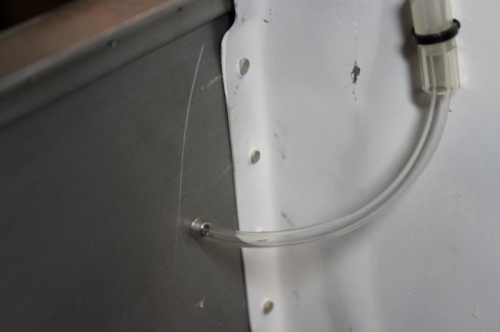
Co pilot side same deal. All needs RTV sealed.
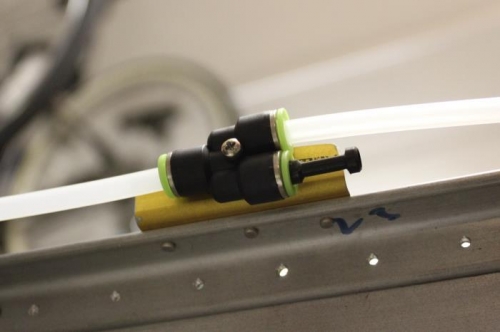
This Y is 12 inches forward. Kept it out of my side skin riveting interference later.