Brief Description: Fit and Rivet Forward Ribs and SubPanel
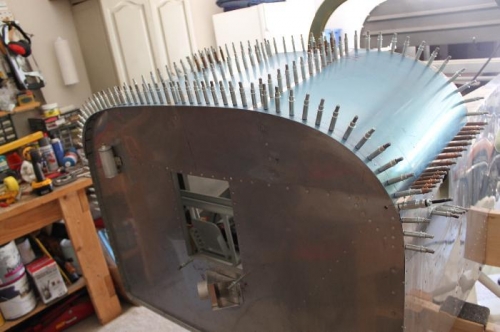
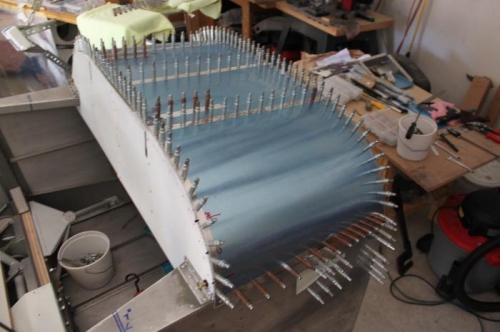
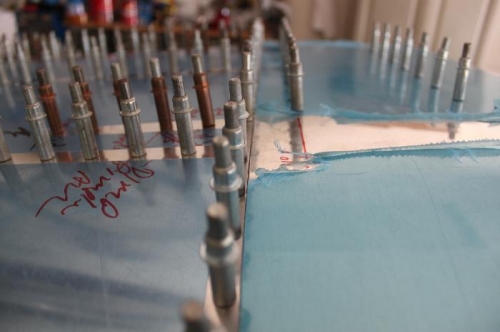
It was time to rivet the forward ribs and sub panel in place. I made an extension for the middle top rib to reach the firewall. Riveted the sub panel halves together and to the sides of the fuselage. Drilled out a couple of poorly set rivets and re set them properly. The top end is now getting very stiff. I like it. I finished fitting the top fuselage skin and match drilled all the remaining holes except the firewall. I used a strap duplicator for the forward most 3 rivets on each side of the forward skin to locate the holes properly. You could not reach it from the inside very easily. That worked quite well. Then dimpled most rib holes (countersank a couple of hard to dimple ones) in the top ribs and subpanel. While taking some measurements I noticed the middle of the firewall top was about 1/4 inch forward too far. If you can imagine a straight line between the two outer ribs at the firewall, mine pushed forward sort of like a slight bow. Some head scratching finally realized that the extension I riveted on the middle rib was a bit too long and pushed the top of the firewall forward too far. Basically the measurement from the aft side of the subpanel to the aft side of the firewall should be 17 inches. When I made that extension I did not check the actual length. I used where the firewall was naturally resting. Wrong. Measure it. I removed the extension and remade it, fixing that problem, then drilled the firewall to finish all the holes in that skin. Trimmed the sides of the top skin to have an symmetrical overlap. Used the edge tool to bend the side overlap edges. Dimpled the skin and remounted it. Fits really good.
Aahhh. Another skin ready to prime and set aside.
Will use one oops rivet on the co pilot side top rib all the way in the front.
I spaced the canopy skin .035 apart from the forward top skin and started drilling it.